1: Working with HTML
You create four new web pages, named page-1.html, page-2.html, page-3.html and page-4.html.
All four pages are displayed with the default web browser styles. None are linked to CSS stylesheets.
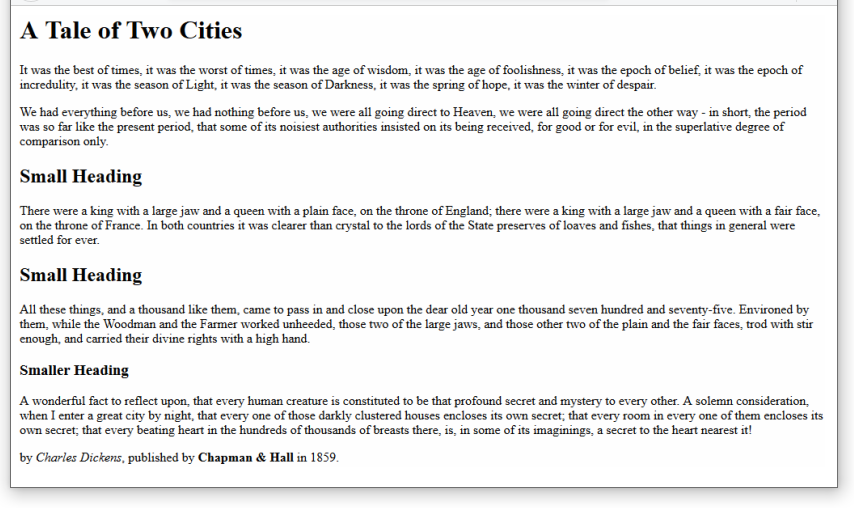 page-1.html
 page-2.html
 page-3.html
 page-4.html
2: Working with CSS
You create four new stylesheets, named style-1.css, style-2.css, style-3.css and style-4.css.
You link these CSS files to your four previously created web pages, and add various style properties and values to the CSS files.
 page-1.html
 page-2.html
 page-3.html
 page-4.html
3: Colours and Web Design
You add text and background colours to the four stylesheet files you created previously.
These are the style-1.css, style-2.css, style-3.css and style-4.css files.
 page-1.html
 page-2.html
 page-3.html
 page-4.html
4: Working with Images
You download and work with four new web pages (page-5.html, page-6.html, page-7.html and page-8.html) and four new stylesheets (style-5.css, style-6.css, style-7.css and style-8.css).
You also insert various downloaded image files in the four web pages.
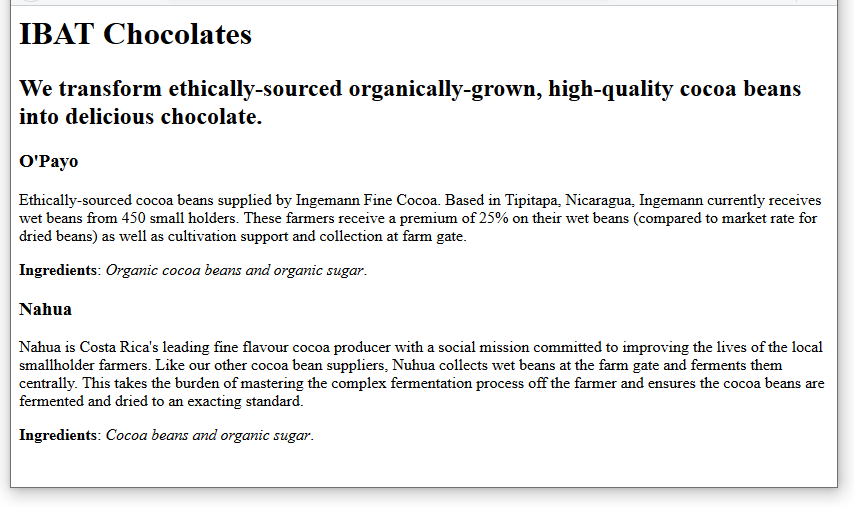
 page-5.html
 page-6.html
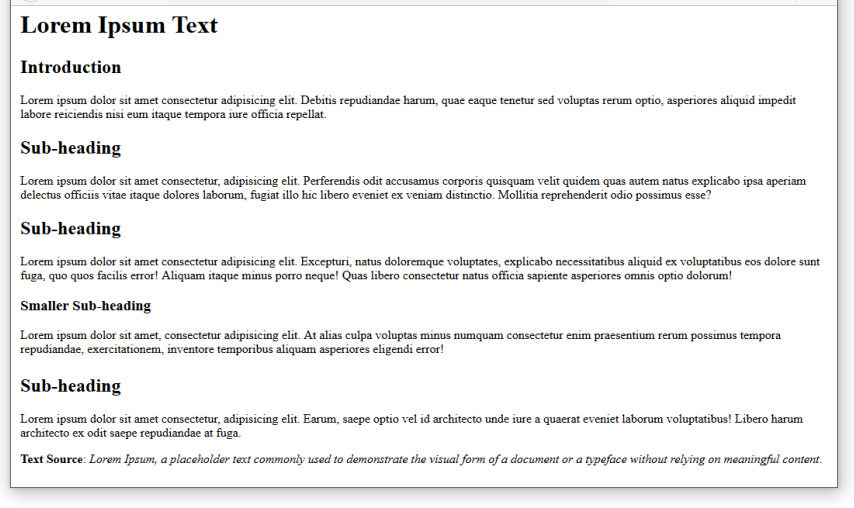
 page-7.html
 page-8.html
5: Working with Google Fonts
You add various Google Fonts to four web pages (page-5.html, page-6.html, page-7.html and page-8.html) and their linked stylesheet files (style-5.css, style-6.css, style-7.css and style-8.css) you worked with previously.
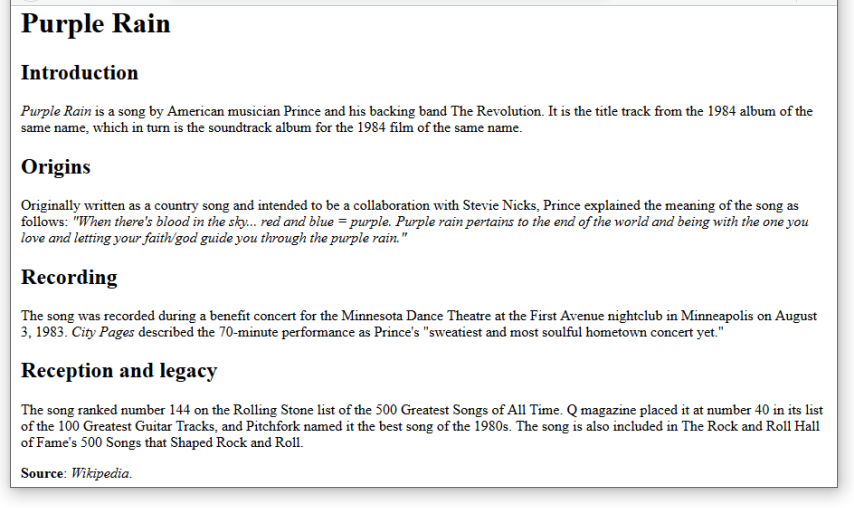
 page-5.html
 page-6.html
 page-7.html
 page-8.html
6: Introduction to Fluid Typography
You make two web pages (page-5.html and page-6.html) responsive to different screen sizes by adding media queries and fluid font sizes to their linked stylesheet files (style-5.css and style-6.css).
page-5.html
page-6.html
7: Introduction to Hyperlinks
You update the page-5.html web page you worked with previously.
page-5.html
8: Working with Internal Hyperlinks
You update the page-6.html web page you worked with previously.
 page-6.html
9: Styling Hyperlinks with CSS
You update the style-5.css and style-6.css stylesheet files you worked with previously.
page-5.html
page-6.html
10: Introduction to the Box Model
You learn about padding, borders and margins by downloading and working with a web page named page-9.html and its linked stylesheet file named style-9.css.
 page-9.html
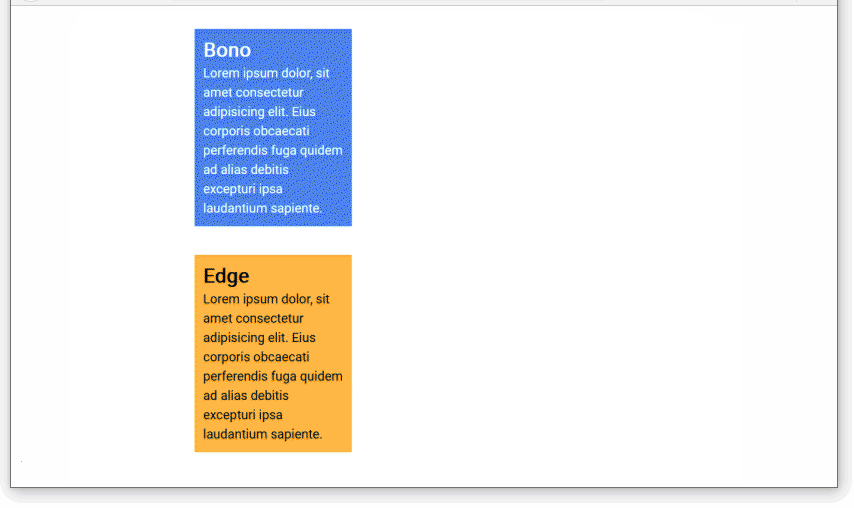
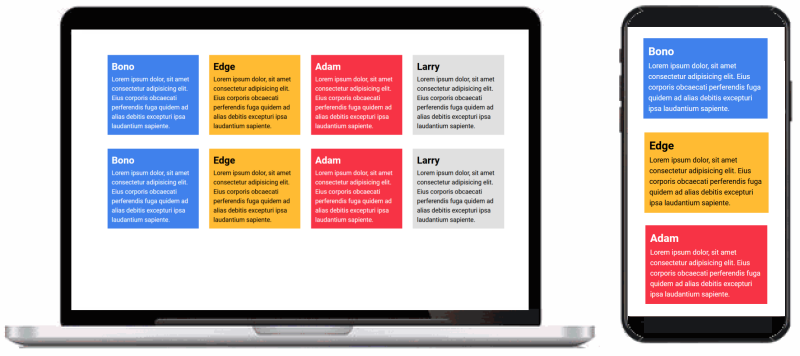
11: Working with Panels
You learn about styling div elements by downloading and working with a web page named page-10.html, its linked stylesheet style-10.css, and a sample image file.
 page-10.html
12: Introduction to CSS Flexbox
You update the page-9.html web page and style-9.css stylesheet you worked with previously and save them with the new names page-11.html and style-11.css.
 page-11.html
13: Hero Blocks with Text
You download and work with a new web page named hero-text.html and its linked stylesheet hero-text.css.
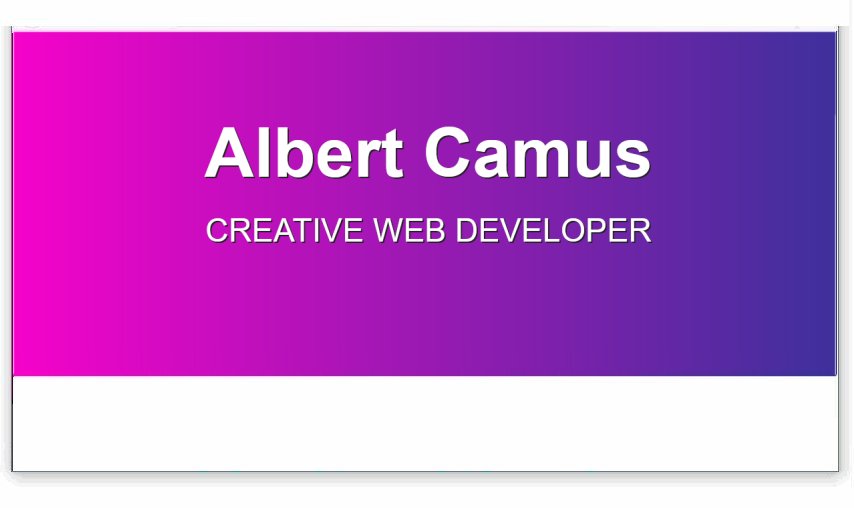 hero-text.html
14: Hero Blocks with Images
You work with new versions of the hero-text.html and hero-text.css files.
You save these files with the new names of hero-image.html and hero-image.css. You also download a new sample image file.
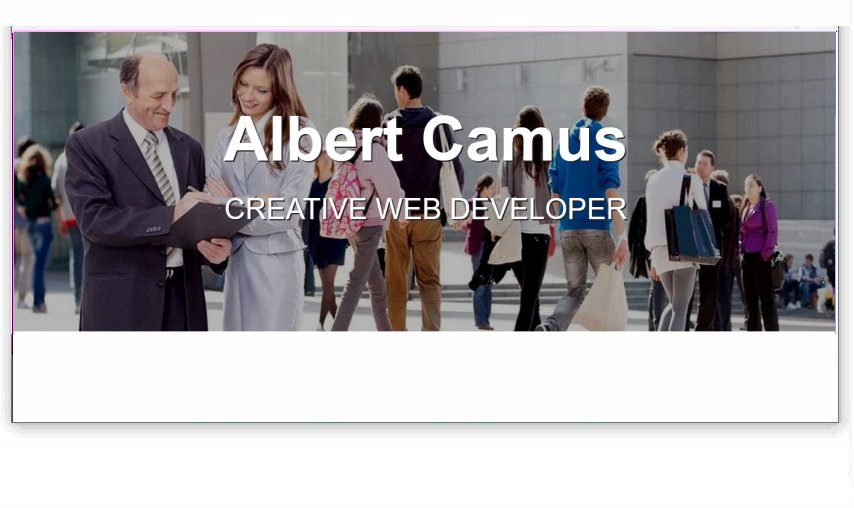 hero-image.html
15: Hero Blocks with Videos
You work with new versions of the hero-image.html and hero-image.css files.
You save these files with the new names of hero-video.html and hero-video.css. You also download a new sample image and video file.
 hero-video.html