
Please do this Store project only after you have completed your Personal Portfolio website project.
Introduction
A number of online retailers offer what are called affiliate programmes. An affiliate programme is an agreement in which a business such as Amazon pays you ('the affiliate') a commission for sending traffic from your website to theirs that results in the purchase of a product or service.
For more information, see:
50+ of the Best Affiliate Programs That Pay the Highest Commission
In this project, you will build a web page that offers affiliate links to four books from the Amazon UK online store.
Your Store page will have the following web address.

Create your folder structure
Your first task is to create the folder structure you need for your online store.
- Inside your ‘main’ 📁 websites folder, create a sub-folder to hold the files for your Store project. Name the new sub-folder 📁 store (all small letters).
- Inside this new folder, create an 📁 assets sub-folder. And inside this, create an 📁 img sub-folder.
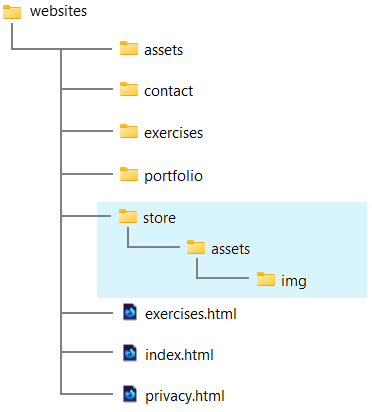
✅ All done. You now have created the required folder with sub-folders for your store.
There is no need to create a 📁 store/assets/css sub-folder or download a new CSS file. Your Store web page will be linked to the same custom.css stylesheet as the other web pages in your personal website.
Download your product images
Your next step is to download the following four images to your 📁 websites/store/assets/img sub-folder.


That's it. You now have all the images you need.
Download your Store template web page
Download one of these two files to your 📁 store folder.
- index.html (light theme)
- index.html (dark theme)
Choose the same light or dark-themed version as you have chosen for your Home, Portfolio and Contact pages.
Clicking on either link will automatically begin the download.
If this file downloads to your 📁 Downloads folder, delete it from there after you copy it your 📁 store folder.
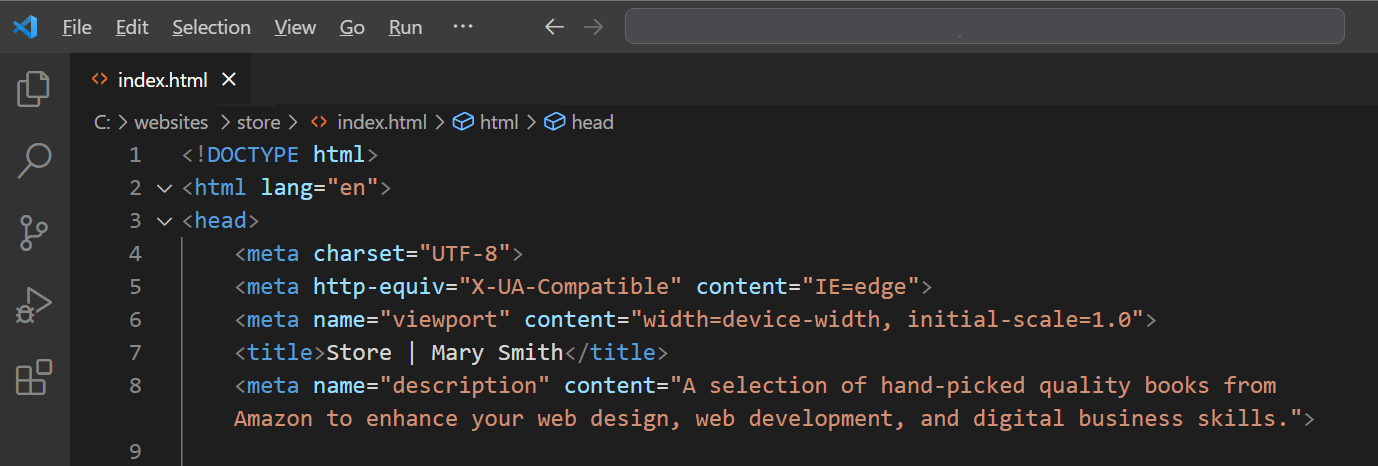
Open the downloaded index.html file in VS Code.
Personalise your Store web page
You will need to update the template index.html Store page with your own details.
Update the <head> of the web page
- Update the <title> tag with your own name.
- Copy-and-paste your favicon code from your Portfolio or Contact web page. The code will be similar to that shown below. Note the ../ at the start of the file paths.
<link rel="apple-touch-icon" sizes="180x180" href="../assets/img/apple-touch-icon.png">
<link rel="icon" type="image/png" sizes="32x32" href="../assets/img/favicon-32x32.png">
<link rel="icon" type="image/png" sizes="16x16" href="../assets/img/favicon-16x16.png">
<link rel="manifest" href="../assets/img/site.webmanifest">
- Add whatever Google Font(s) you are using on the rest of your website. You can copy the Google Fonts code from your Home, Portfolio or Contact web pages.
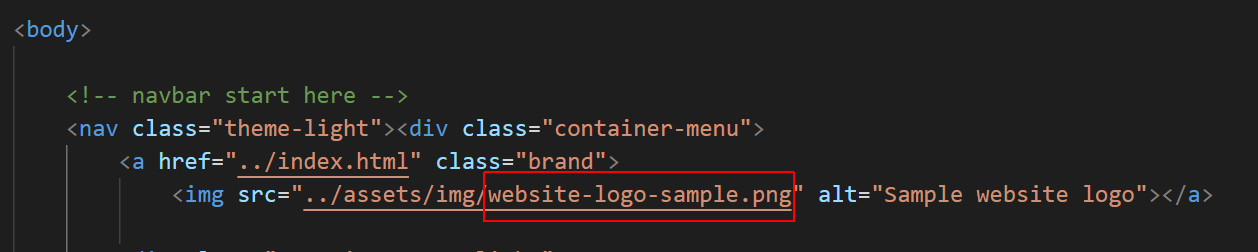
Update the <nav> of the Store web page
Replace the sample logo with your own.
About hyperlinks to Amazon products
On your Store page, click on either the image of the 'Buy now' button for each of the four books. You will be redirected to the following web addresses on the Amazon UK website:
- https://www.amazon.co.uk/dp/1925836363
- https://www.amazon.co.uk/dp/1849693188
- https://www.amazon.co.uk/dp/0648053709
- https://www.amazon.co.uk/dp/1706664680
The 10-digit number at the final part of each hyperlink is called the ASIN. It is short for Amazon.com Standard Item Number. Every book or other product offered by Amazon has a unique ASIN.
The general format of a product link to an Amazon product is therefore:
- https://www.amazon.co.uk/dp/ASIN
You can find an item's ASIN on its product page under Product Details, along with other information such as sales rank and release date. You can also see the ASIN as part of the item's web address.
About the Amazon Associates ID
When you join Amazon's Associates programme, you will be provided with a unique Associate ID that you can include in your hyperlink to an Amazon product. See the example below.
- https://www.amazon.com/dp/ASIN/ref=nosim?tag=ASSOCIATEID
If a visitor to your web page clicks on such a hyperlink and then purchases this or another product, Amazon will provide you with a commission on that sale.
Join the Amazon Associates Programme
Your next task is to join the Amazon Associates Programme. Here are the steps:
- Go to the Amazon UK home page.
- Scroll down to the footer and click the Associates Programme link.
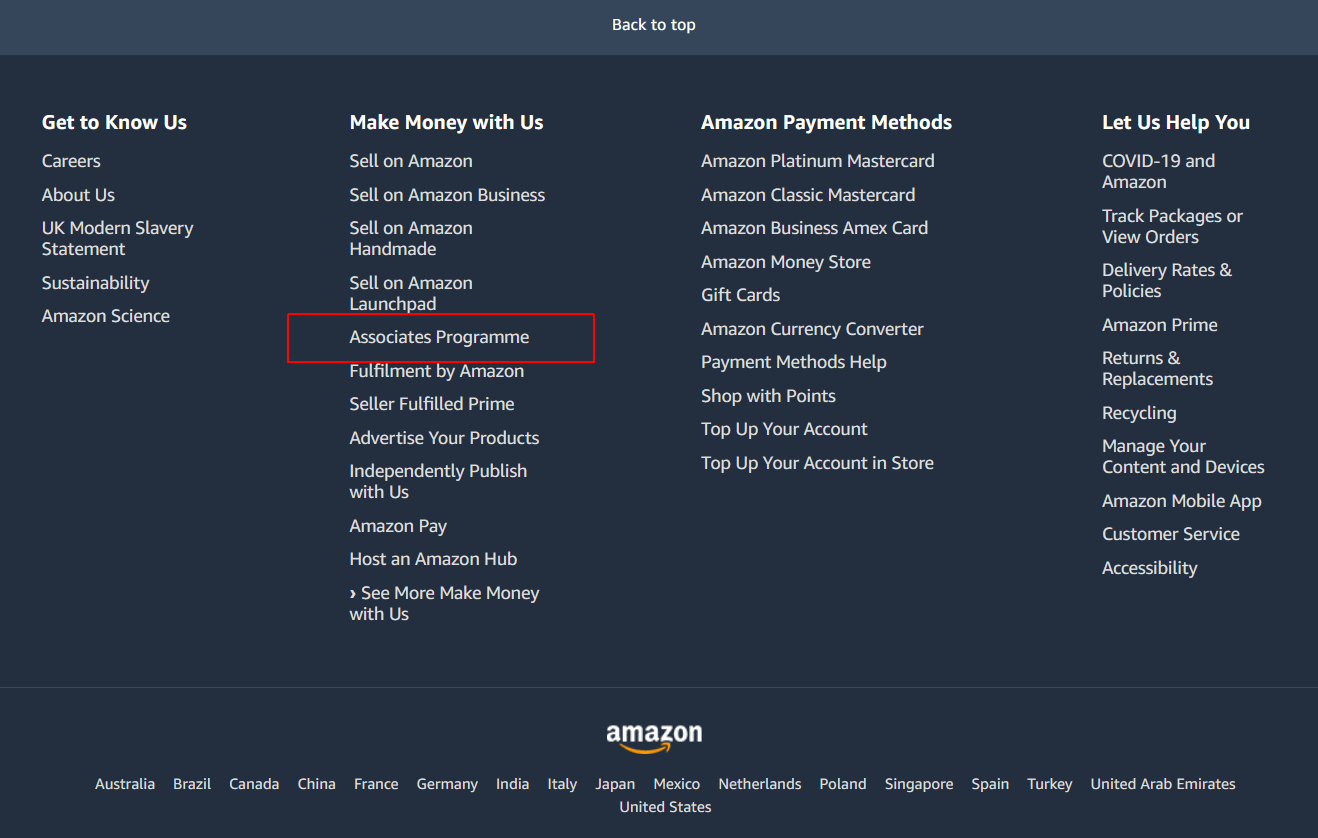
- You will see a web page similar to that below.
 Click the yellow Sign up button.
 - Enter your Email and chosen Password. If you already have a customer account with Amazon UK, you can reuse the same Email and Password details.
- Enter further details as required to complete the signup process.
Your Associates ID
As part of your registration, you will be asked to enter an Amazon Associates ID.
For example, if your name is Mary Smith, you could enter msmith.
Amazon will then generate a unique Associates ID such as msmith-1234.
Amazon will also provide you with a hyperlink to your Associates ID. You can use this hyperlink to test that your Associates ID is working correctly.
Update the product links on your Store page
Once you have obtained your Associates ID, include it in the hyperlinks on your Store page.
If your Associates ID is msmith-1234, for example, your four book hyperlinks would look as follows.
- https://www.amazon.com/dp/1925836363/ref=nosim?tag=msmith-1234
- https://www.amazon.com/dp/1849693188/ref=nosim?tag=msmith-1234
- https://www.amazon.com/dp/0648053709/ref=nosim?tag=msmith-1234
- https://www.amazon.com/dp/1706664680/ref=nosim?tag=msmith-1234
Note: update both the text links and the links for each of the four images.
Test your hyperlinks to ensure they work correctly.
When finished, upload your 📁 store folder to GitHub.
Upload your Store folder to GitHub
After finishing your Store project, you are now ready to upload it to your account on GitHub.
- Open a new tab in your web browser and go to GitHub.com. If you are not already signed in to your GitHub account, sign in now.

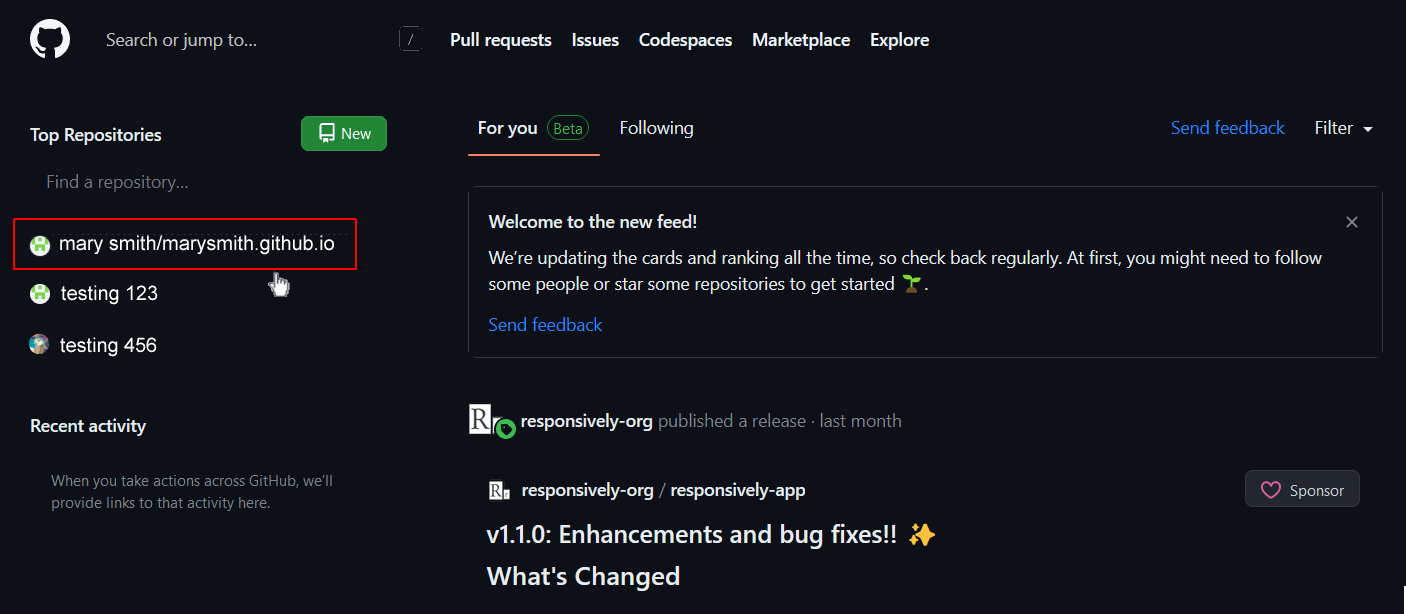
- On your GitHub home page, click the ‘repo’ that holds your web pages. Its name will look as follows, where marysmith is your chosen username on GitHub.
marysmith.github.io
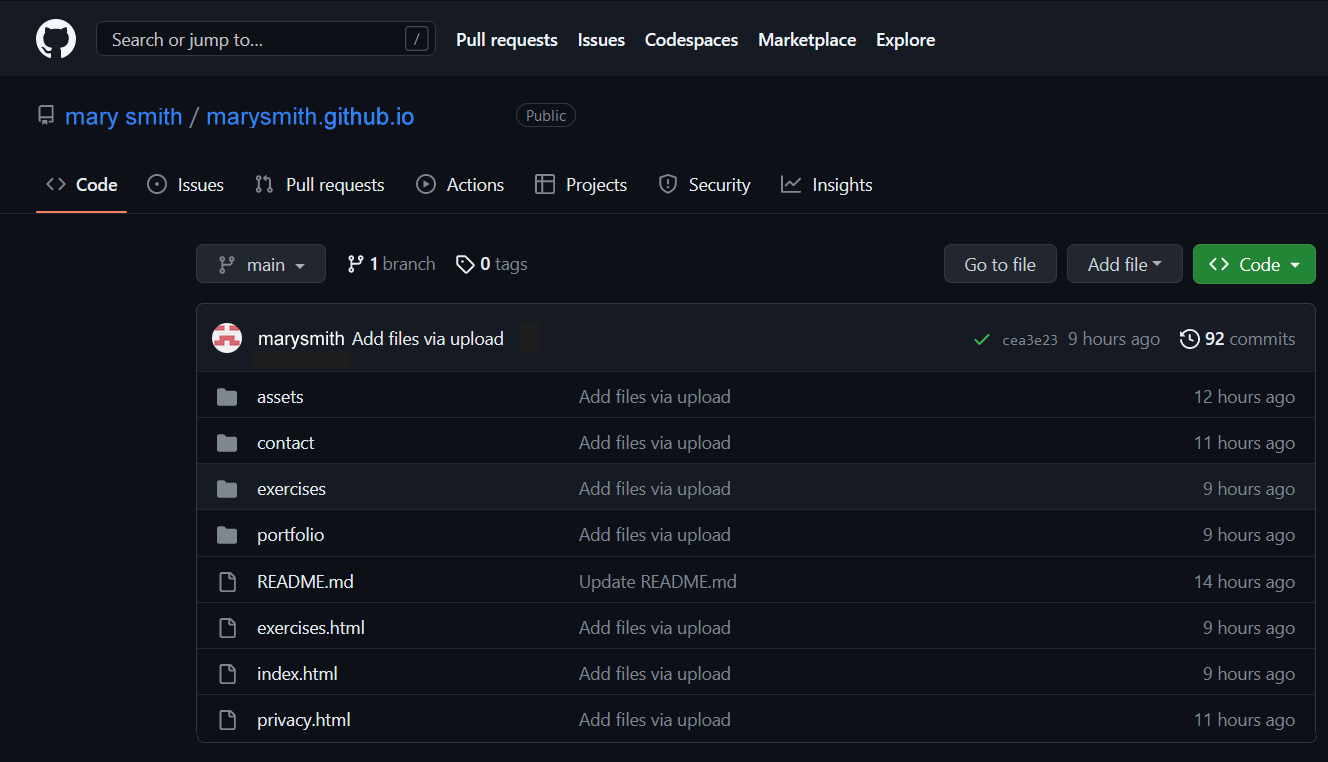
- You are now shown the ‘repo’ that holds the files for your website.
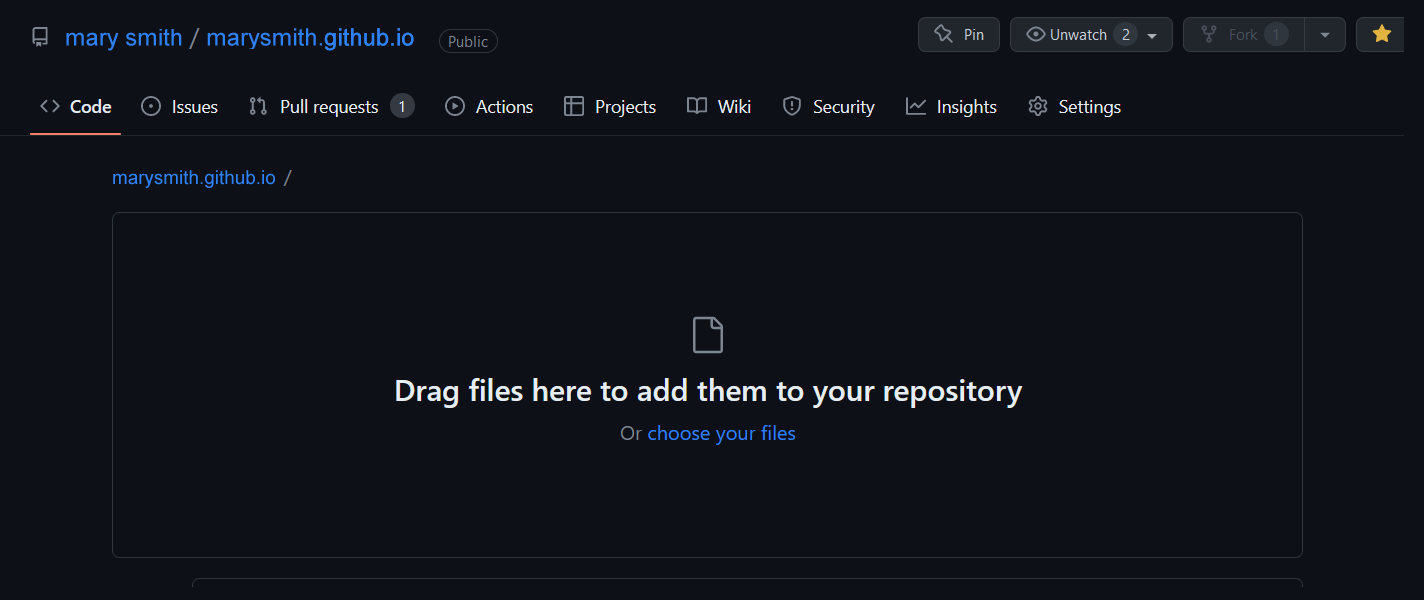
- Click the Add file button and then choose the Upload files option.
 Your Github screen should now look similar to that shown below.
 Leave this tab open in your web browser.
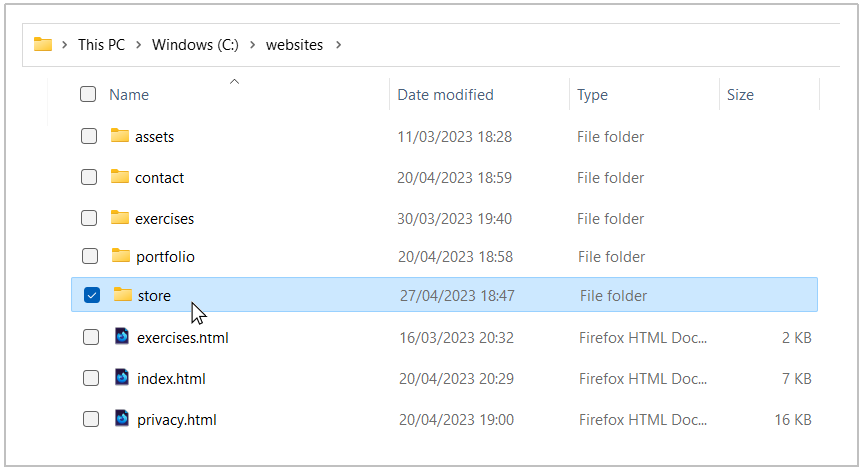
 - Open your File Explorer (Windows) or Finder (Apple Mac) and display your 📁 websites folder.
- Click once on your 📁 store folder to select it.
- Drag-and-drop your 📁 store folder to your GitHub web browser tab. Your GitHub screen should now look as follows.
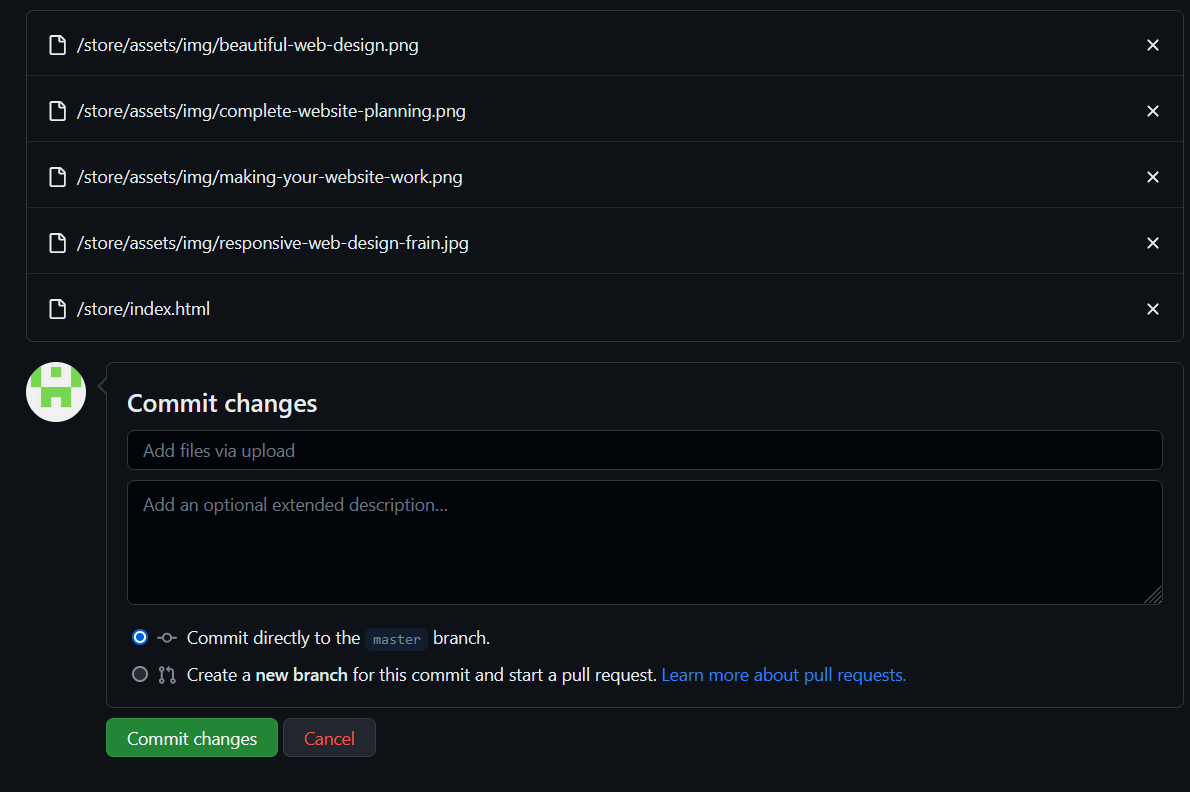
- At the bottom of the GitHub screen, accept or edit the short message (Add files via upload) in the Commit changes box.
- Finally, click the green Commit changes button to upload your files.

Your Store project is now published on GitHub at a web address similar to the following:
https://username.github.io/store/index.html
or simply:
https://username.github.io/store
It may take a few minutes for your uploaded files to appear on GitHub.