
Learning Goals
At the end of this Tutorial you will be able to:
- Apply the CSS properties of color and background-color to web page elements.
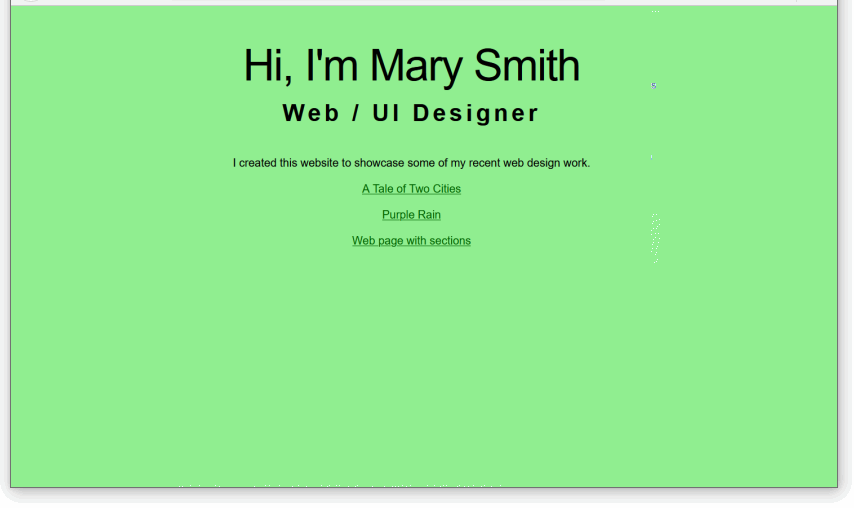
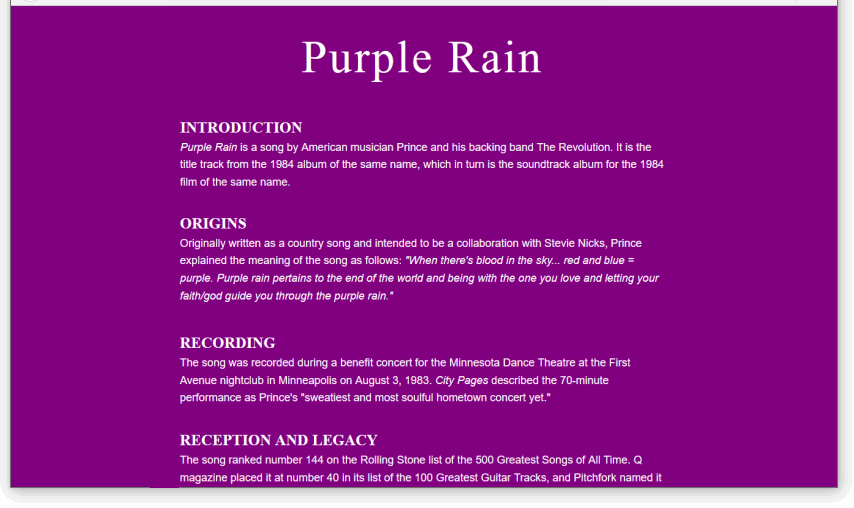
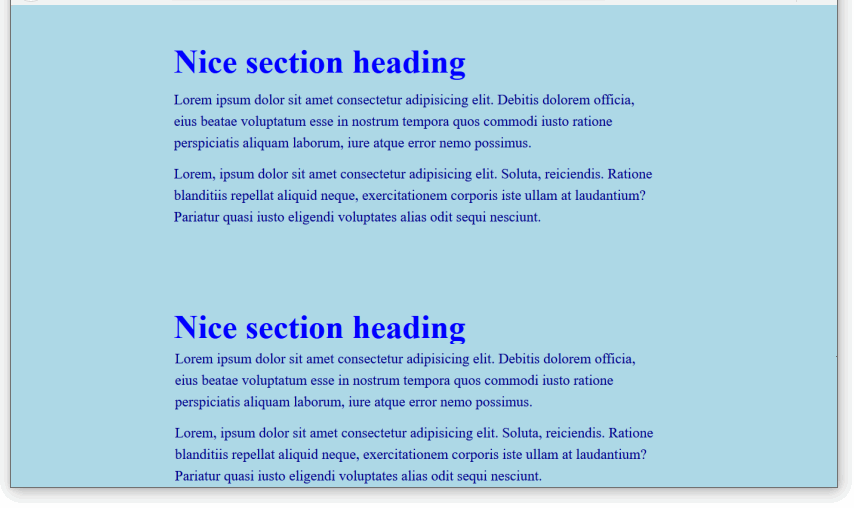
Your finished web pages should look as shown below.

Adding colours to your four sample CSS files
In previous Tutorials, you created four sample web pages with these file names:
index.html
exercises/page-1.html
exercises/page-2.html
exercises/page-3.html
Later, you linked your sample web pages to these four stylesheet files:
assets/css/global.css
exercises/assets/css/style-1.css
exercises/assets/css/style-2.css
exercises/assets/css/style-3.css
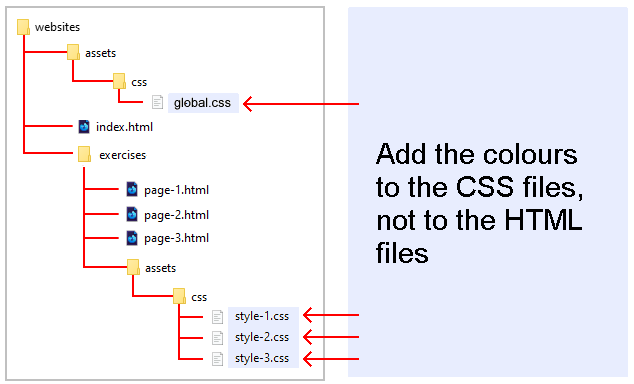
Now you will add colour style rules to the four CSS files (style-1.css, style-2.css, style-3.css, and global.css) and view the effect on the linked sample web pages.
Updating style-1.css with colours
Follow these steps to add colours to your first sample web page page-1.html by updating its linked style-1.css stylesheet.
- In VS Code, open the stylesheet file named style-1.css in your exercises/assets/css folder.
- Near the top of the file just after the RESETS block, add the following:
body { background-color: antiquewhite; } - To the h1, h2 and h3 style declaration blocks, add this new style rule inside the curly braces:
color: brown;
- At the end of the file, add this for the hyperlink colour.
a { color: brown; } - Save the style-1.css file.
You can close your style-1.css file in VS Code.
Updating style-2.css with colours
Follow these steps to add colours to your second sample web page page-2.html by updating its linked style-2.css stylesheet.
- In VS Code, open the stylesheet file named style-2.css in your exercises/assets/css folder.
- Near the top of the file just after the RESETS block, add the following:
body { background-color: purple; } - To the h1, h2 and p style declaration blocks, add this new style rule inside the curly braces:
color: white;
- At the end of the file, add this for the hyperlink colour.
a { color: white; } - Save the style-2.css file.
You can close your style-2.css file in VS Code.
Updating style-3.css with colours
Follow these steps to add colours to your third sample web page page-3.html by updating its linked style-3.css stylesheet.
- In VS Code, open the stylesheet file named style-3.css in your exercises/assets/css folder.
- Near the top of the file just after the RESETS block, add the following:
body { background-color: lightblue; } - To the h2 style declaration block, add this new style rule inside the curly braces:
color: blue;
- At the end of the file, add this for the hyperlink colour.
a { color: blue; } - Save the style-3.css file.
You can close your style-3.css file in VS Code.
Updating global.css with colours
Follow these steps to add colours to your home web page index.html by updating its linked global.css stylesheet.
- In VS Code, open the stylesheet file named global.css in your main assets/css folder.
- Near the top of the file just after the RESETS block, add the following:
body { background-color: lightgreen; } - At the end of the file, add this for the hyperlink colour.
a { color: darkgreen; } - Save the global.css file.
You can close your global.css file in VS Code.
Uploading your files to GitHub
Your final task is to upload your web pages and stylesheets to your account on GitHub.
- Open a new tab in your web browser and go to GitHub.com. If you are not already signed in to your GitHub account, sign in now.

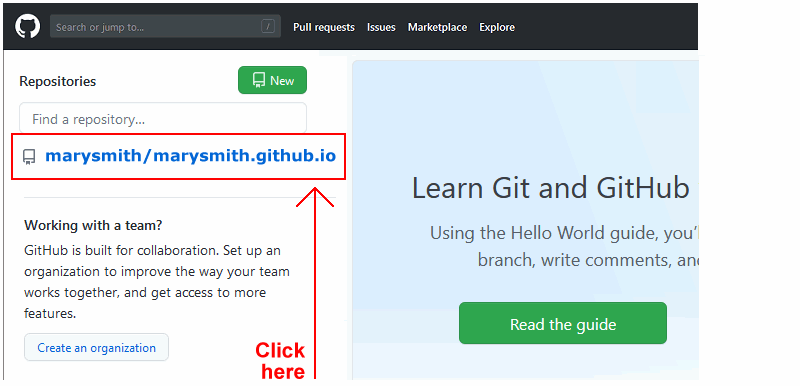
- On your GitHub home page, click the ‘repo’ that holds your web pages. Its name will look as follows, where username is your chosen username on GitHub.
username.github.io
- On the next GitHub screen displayed, near the right of the screen, you can see a button named Add file. Click on it.
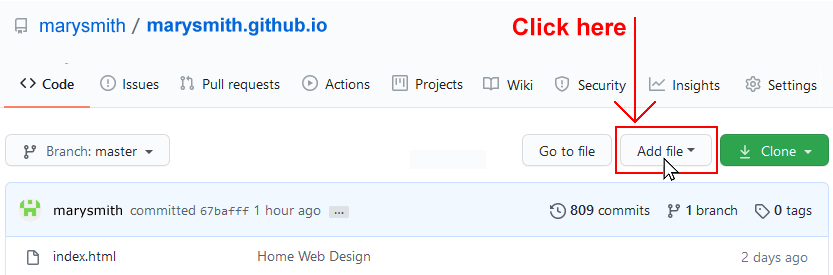
- From the dropdown list displayed, choose the option Upload files.

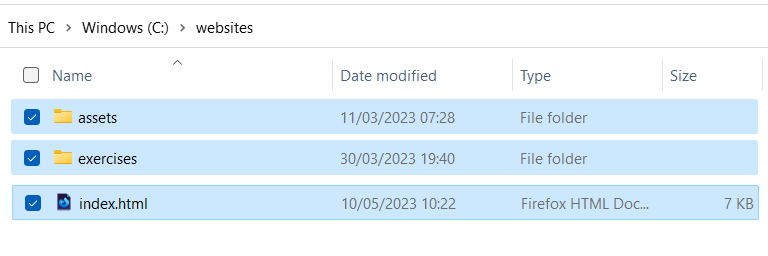
- In File Explorer (Windows) or Finder (Apple Mac), drag-and-drop your 📁 assets and 📁 exercises folders and the index.html file to upload them to your repository on GitHub.
- Scroll down to the bottom of the GitHub screen, and accept or edit the short message (Add files via upload) in the Commit changes box.
- Finally, click the green Commit changes button to upload your files.
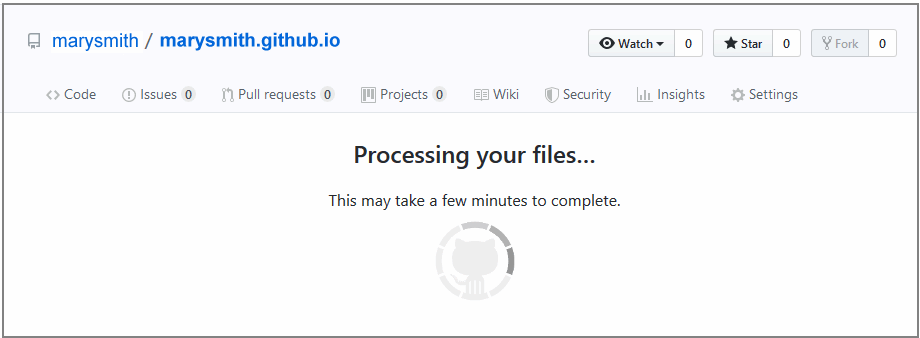
Your web pages are now published on GitHub at web addresses similar to the following, where username is the username you have chosen for your GitHub account:
https://username.github.io/index.html
– or simply –
https://username.github.io
https://username.github.io/exercises/page-1.html
https://username.github.io/exercises/page-2.html
https://username.github.io/exercises/page-3.html