
At the end of this Tutorial you will be able to:
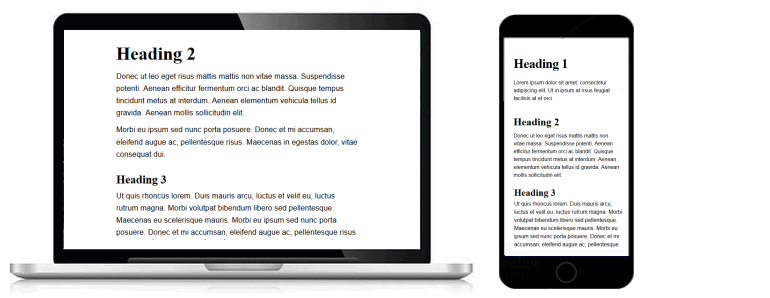
You can view a finished version of this project by clicking the image below.
Google Fonts offers the Internet’s largest collection of open-source, royalty-free fonts. All 900-plus fonts can be used without restriction for personal, not-for-profit or commercial web projects.
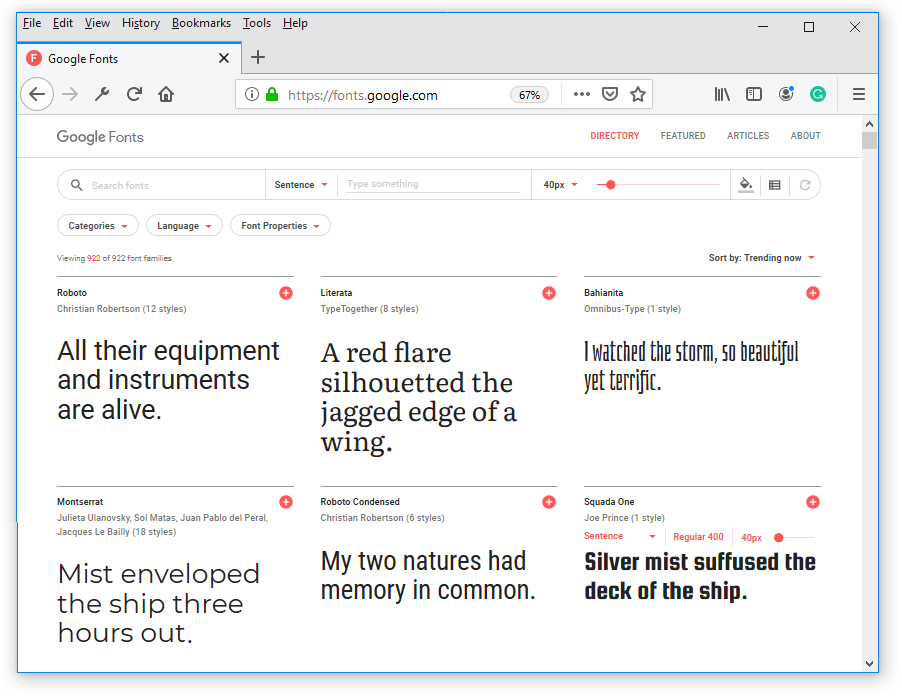
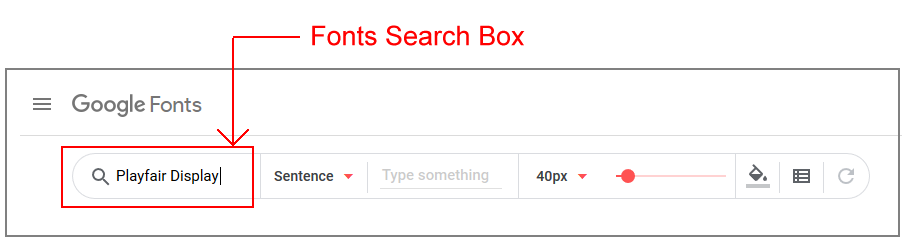
At the Google Fonts website you can search for fonts by name, category (such as Sans Serif or Handwriting), font style (such as Thickness or Slant), popularity (Trending now) and more. There is also a ‘Featured‘ page that showcases new additions to the Google Fonts library.
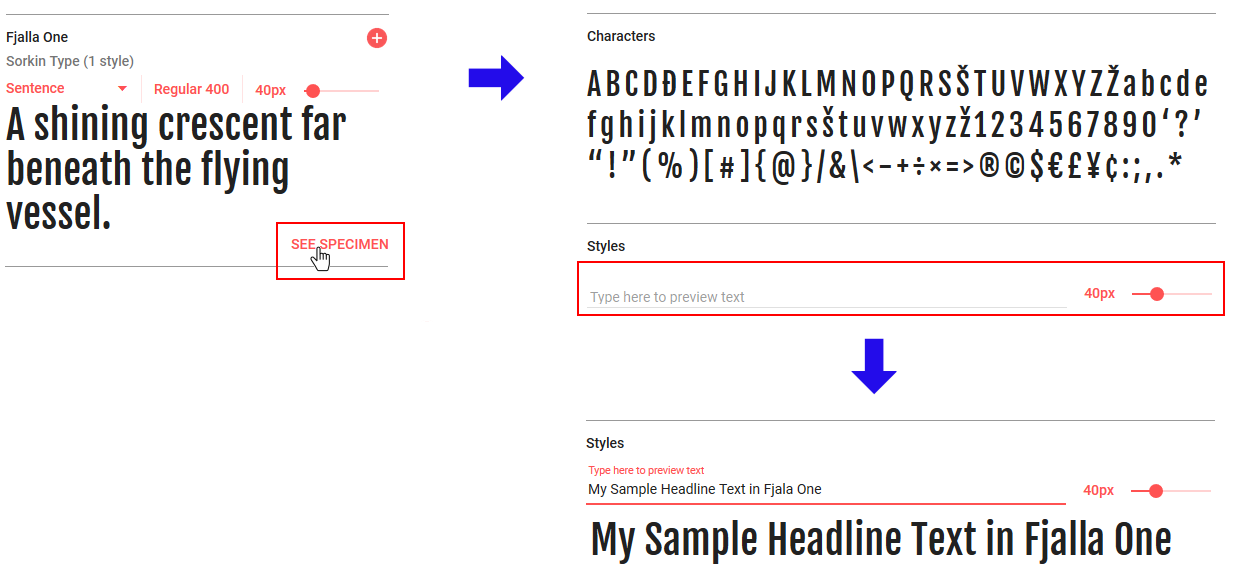
To see how a headline or a few words text will look when styled in a particular font, hover over the font, click the red SEE SPECIMEN button, and, on the next screen displayed, type your chosen text on the preview line.
Here are the basic steps to using Google Fonts in a web project.
 Use the Customize tab to select the font weight(s) and style(s) you require for your chosen font(s). Only add those weights and styles you absolutely need. The more versions of a font family you add, the slower your web page will load.
h1 {
   font-family: 'Roboto', sans-serif;
   ...
}
h1 {
   font-family: 'Libre Baskerville', serif;
   ...
}
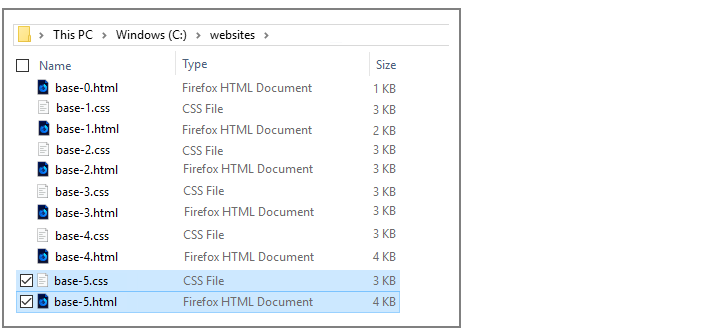
In this Tutorial you will work with these two files:
First, let’s edit the HTML file from your previous Tutorial:
<title>Responsive web page with Google Fonts</title>
<meta name="description" content="A sample responsive web page with examples of Google Fonts.">
<link rel="stylesheet" href="base-5.css">
You are now ready to work with your new web page (base-5.html) and stylesheet (base-5.css).
We will begin by selecting the Google Font named Playfair Display, and then applying it to headings in your web page and stylesheet. Follow these steps.


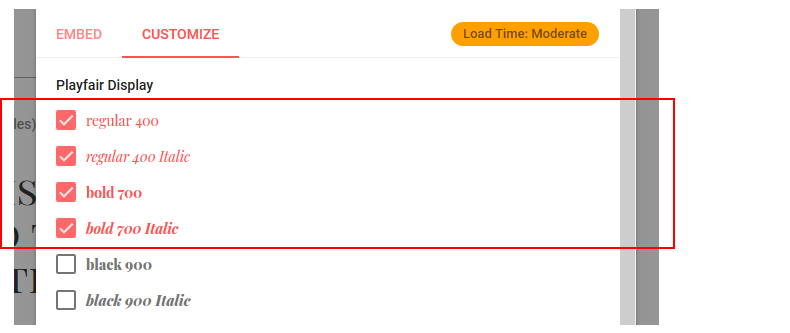 Note that, in CSS, font-weight: 400 is the same as font-weight: normal, and font-weight: 700 is the same as font-weight: bold.
You have now selected the four versions of the Playfair Display font you want for your web page. Your next steps will be to:
Note that, in CSS, font-weight: 400 is the same as font-weight: normal, and font-weight: 700 is the same as font-weight: bold.
You have now selected the four versions of the Playfair Display font you want for your web page. Your next steps will be to:
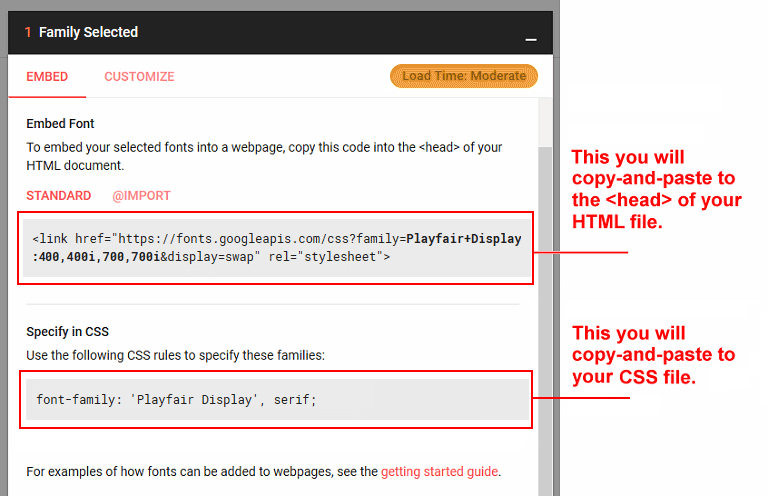
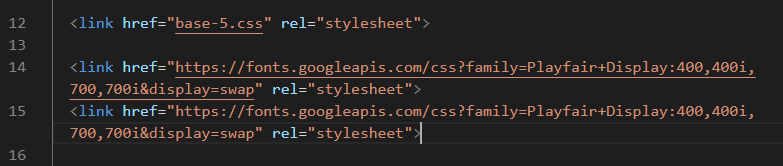
  <link href="base-5.css" rel="stylesheet">
  <link href="https://fonts.googleapis.com/css?family=Playfair+Display:400,400i,700,700i&display=swap" rel="stylesheet">
h1 {
   font-family: 'Playfair Display', serif;
   ...
}

h2 {
   font-family: 'Playfair Display', serif;
   ...
}

h3 {
   font-family: 'Playfair Display', serif;
   ...
}
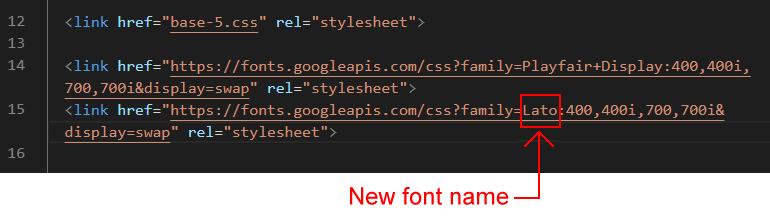
In this next step, you will add a second Google Font for the text (paragraphs and lists) in your web page and stylesheet. Rather than revisiting the Google Fonts website and following the font-selection steps, you will do this the quick and simple way – by copying and pasting.

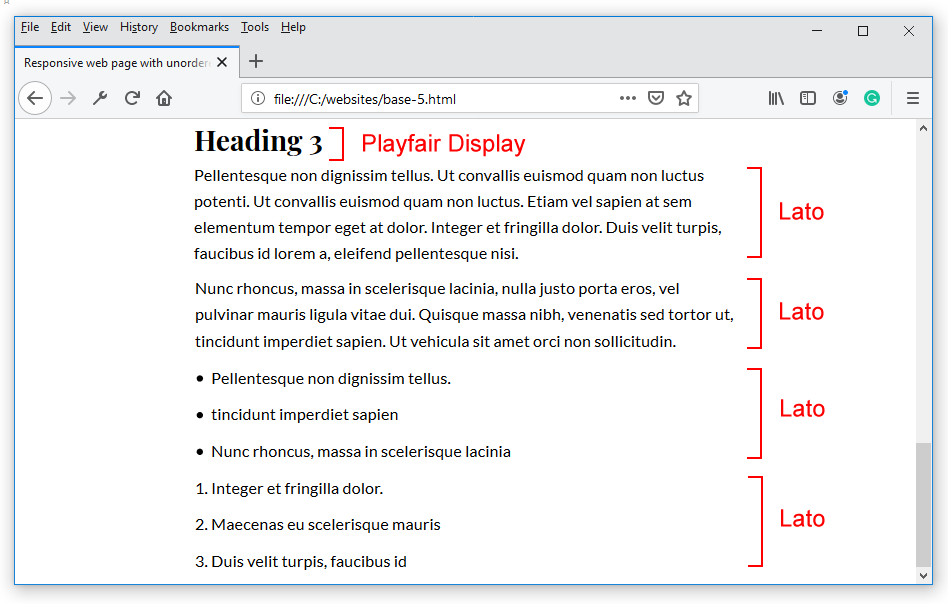
p {
   font-family: 'Lato', serif;
   ...
}

ul li, ol li {
   font-family: 'Lato', serif;
   ...
}
In typography, font style refers to the shape of the font. Font weight refers to the heaviness of the font.
Most Google Fonts are available in at least two styles (normal style and italic style), and two weights (400 and 700, corresponding to normal weight and bold weight).
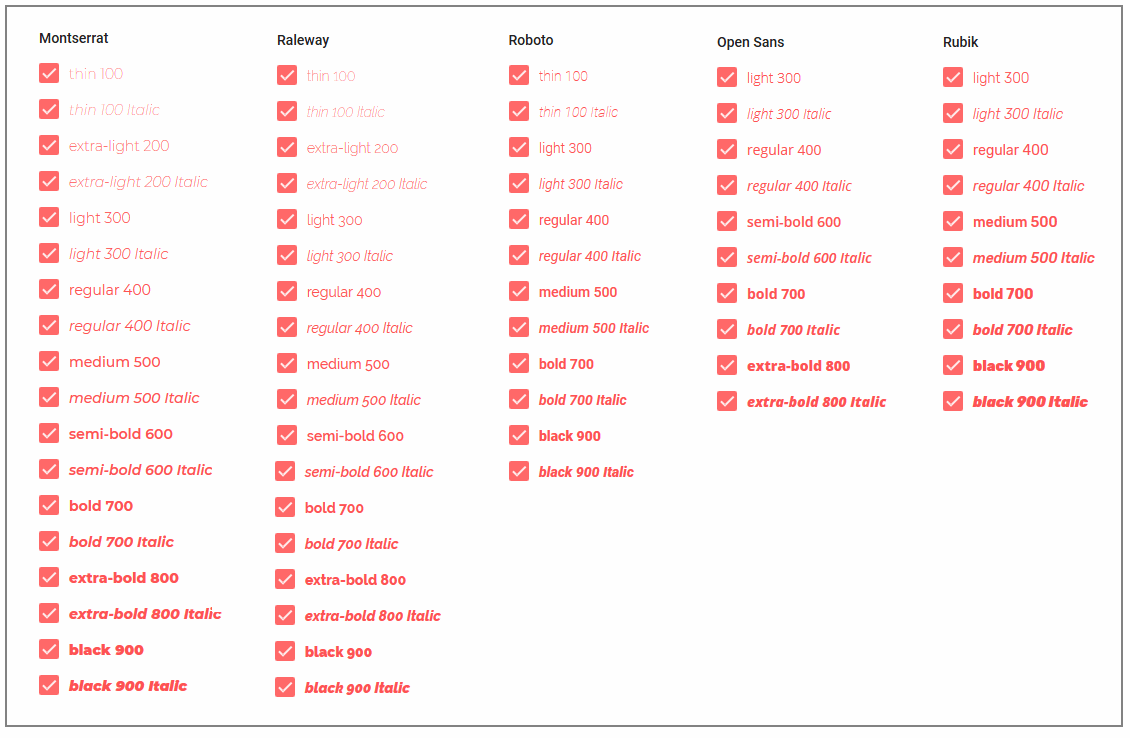
Some Google Font families, however, have a wide range of weights. These vary from very thin at end extreme to very heavy at the other. Note that, except for at large sizes, thin font weights can be difficult to read on-screen. You can see some examples of Google Fonts with lots of weight options below.
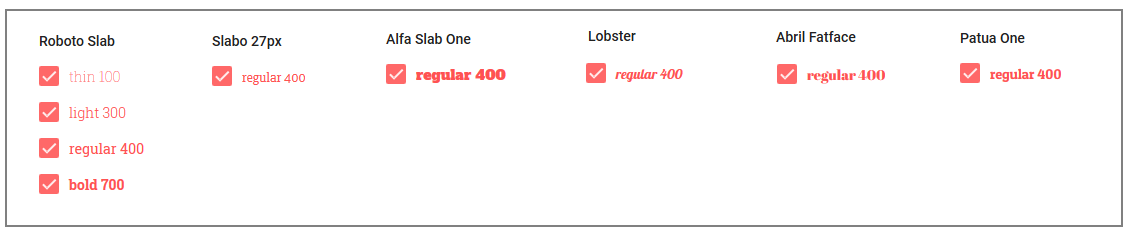
In contrast, other Google Fonts are very limited in both their styles and weights. This is particularly true of display and hand-writing fonts, and also slab fonts (serifs characterized by thick, block-like serifs). Some such examples are shown below.
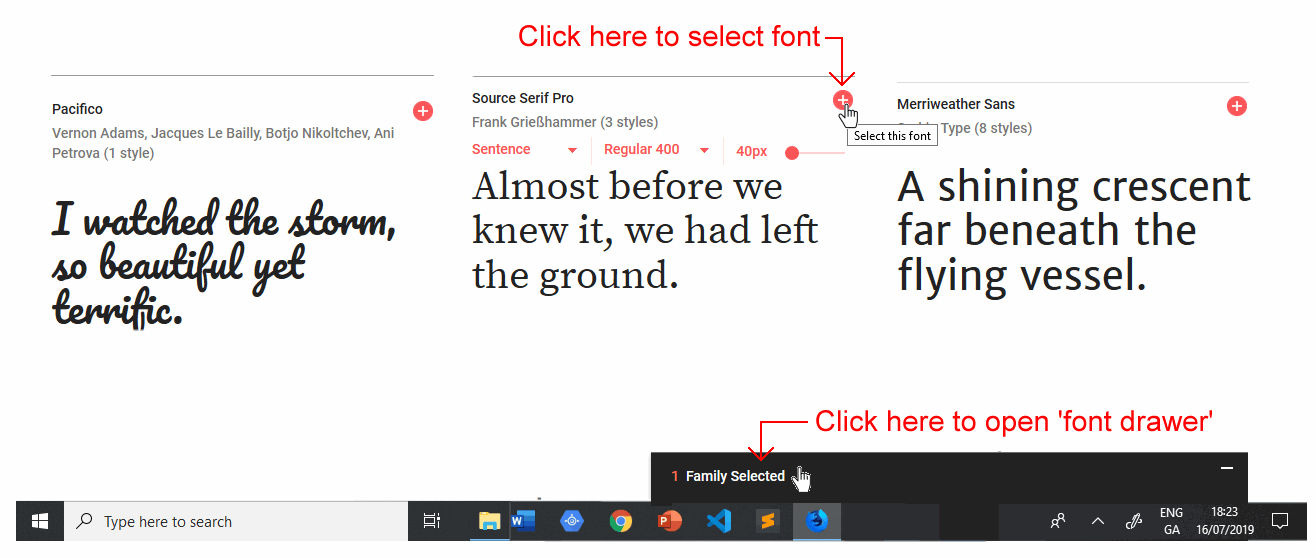
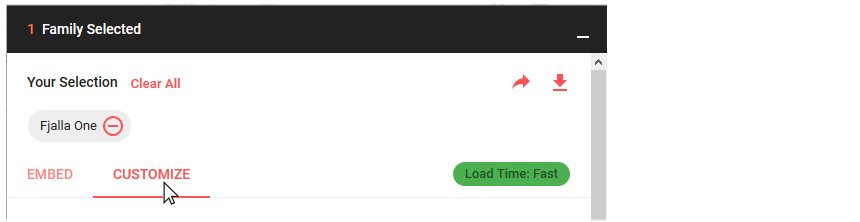
When you select two or more fonts on the Google Fonts website, they are added to the 'font drawer' at the bottom-right of the screen.

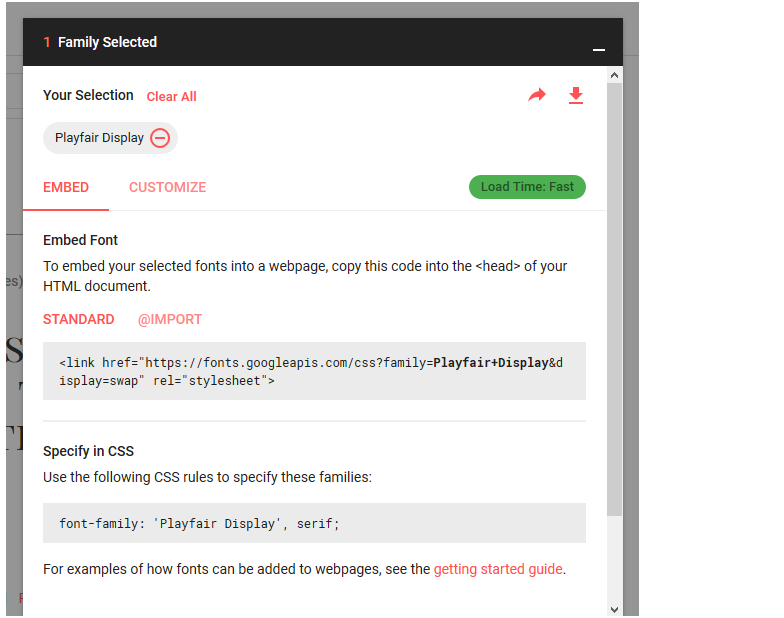
On using the Customize tab within the font drawer to select your required weights and styles, and then viewing the Embed tab, you will see that the various fonts are joined together on a single line.

This reduces the time it takes for the two fonts to load from the Google web server because your web page needs to make just one request rather than two.
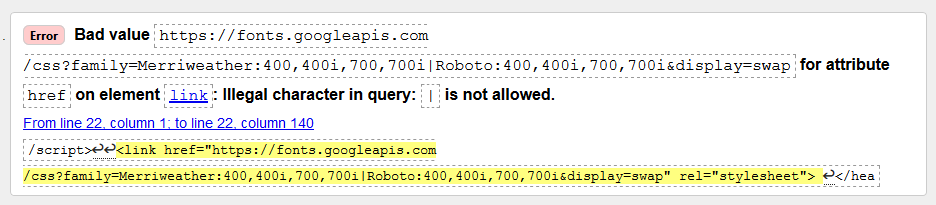
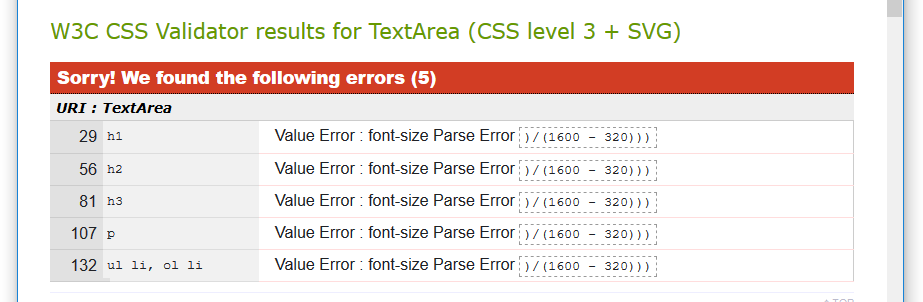
However, when you check your web page on the official HTML Validator, you will see an error message similar to the following.
As with any error message, an obvious first step to finding a solution is to enter a query on Google or other search engines.

The first search results you should see will be from a website named Stack Overflow. This is a free question-and-answer service for all types of software issues, including problems related to HTML and CSS.
When you read through the answers on Stack Overflow, you will see that you need to replace the invalid | character with %7C. An example is shown below.
<link href="https://fonts.googleapis.com/css?family=Merriweather:400,400i,700,700i%7CRoboto:400,400i,700,700i&display=swap" rel="stylesheet">
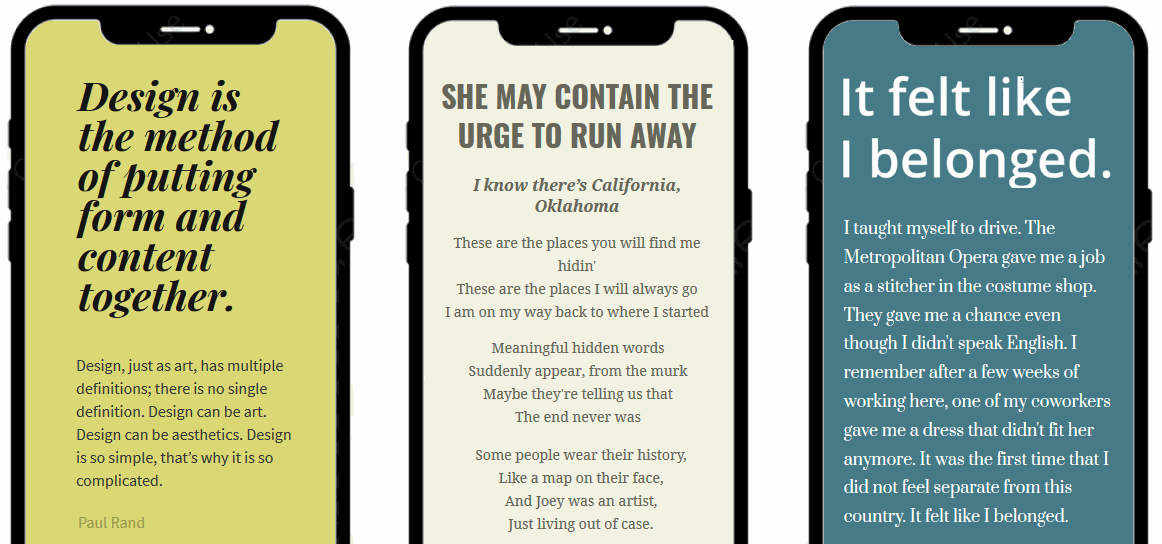
As a web designer, you will often want to pair two Google Fonts – one for headings and the other for paragraph text – in a harmonious and visually pleasing combination. Here are a few websites that offer some inspiration for pairing Google Fonts:
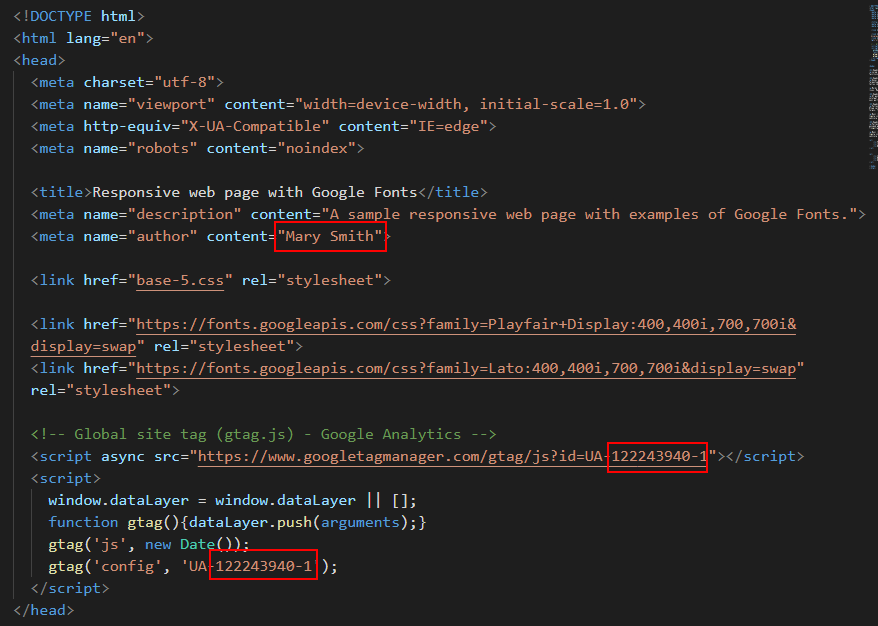
Before you validate your web page and upload it to GitHub, ensure the following details are correct within the <head> of your base-5.html file.
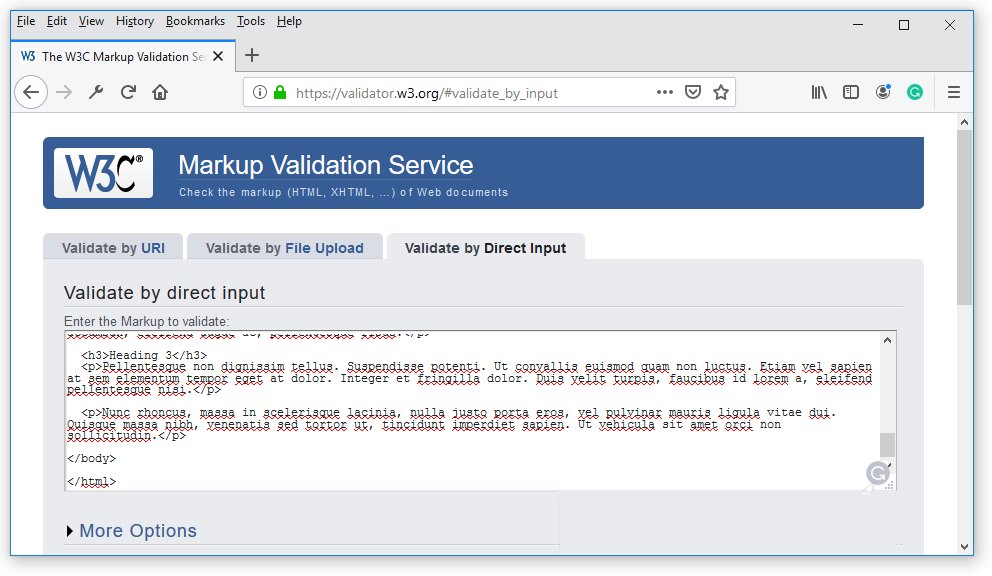
To check the HTML in your web page is correct or valid, use the official W3C Markup Validation Service as follows.

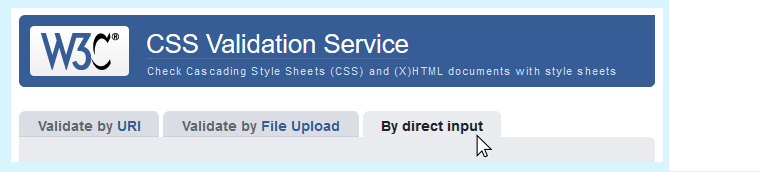
To check your CSS is correct, use the official W3C CSS Validation Service. Follow these steps.
After validating your web page and stylesheet, you are now ready to upload them to your account on GitHub.


Your web page is now published on GitHub at a web address similar to the following, where username is the username you have chosen for your GitHub account:
https://username.github.io/base-5.html
It may take a few minutes for your uploaded files to appear on GitHub.
How to use Google Fonts in your next web design project
by Hayden Mills at Free Code Camp News
Google Fonts for web developers
by Estefania Cassingena Navone at CodeBurst
How to: Google Fonts from W3 Schools
Video: Google Fonts quick tutorial with HTML and CSS
from Code Instinct
Video: How to use Google Fonts in 2019
from Learn With Ali Hossain
Return to Contents.