If you have not already downloaded the HTML, CSS and image template files for use with this and your other projects, you can find the instructions at the link below.
Your first step is to download the image file for new 'Contact Form' web page you will create.
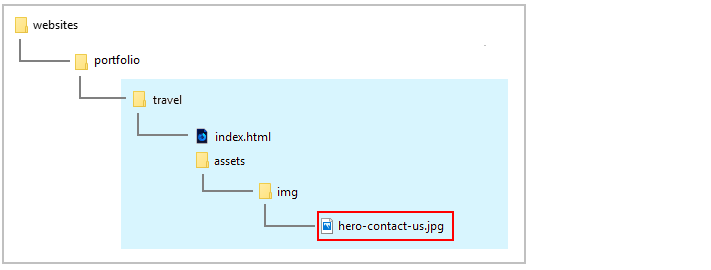
Right-click the image below and, from the pop-up menu displayed, choose Save Image As
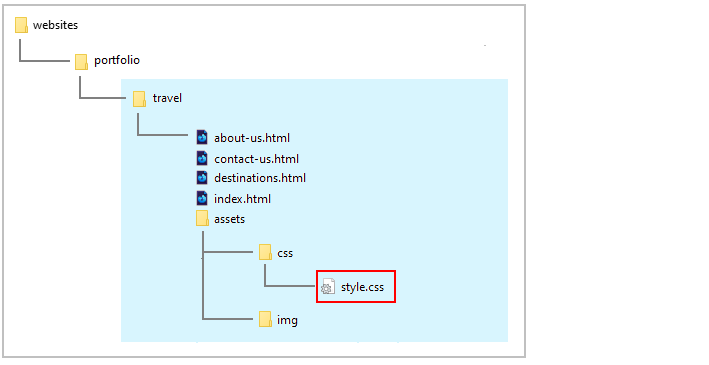
Download the image file to your websites\portfolio\travel\assets\img sub-folder:
Create your Contact Form web page
Your new Contact Form web page will be similar in design to the already existing three pages in your sample 'Travel Agency' sample website and will use the same stylesheet. So you can use the current Home Page as the basis for creating the new page.
Start Visual Studio Code and follow these steps.
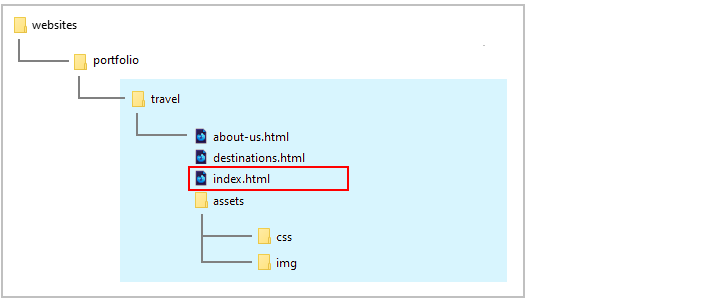
From your websites\portfolio\travel folder, open the web page named index.html.
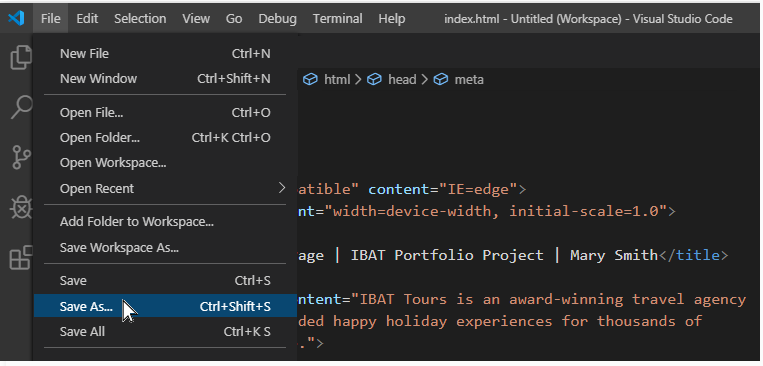
From the File menu, choose the Save As command.
Save the HTML file in the same folder as the three other web pages, and give the new file the following name:
contact-us.html
You are now ready to edit your new contact-us.html web page.
Edit your Contact Form web page
You need to update the content of your new contact-us.html web page.
In Visual Studio Code, edit the <h2> sub-heading in the hero section by replacing the current text with the following:
<h2>Making your holiday special</h2>
Scroll down under the hero section of the web page to first container-flexbox DIV.
Replace the <h2> sub-heading and <p> text paragraph inside the single-column child DIV named item-1 with the following.
<h2>A getaway the way you want it</h2>
<p>If one of our regular holiday offerings is not what you are looking for, our expert staff can help you plan that special getaway for your unique tastes.<p>
<p>Take your first step to a holiday you will never forget by completing the form below.<p>
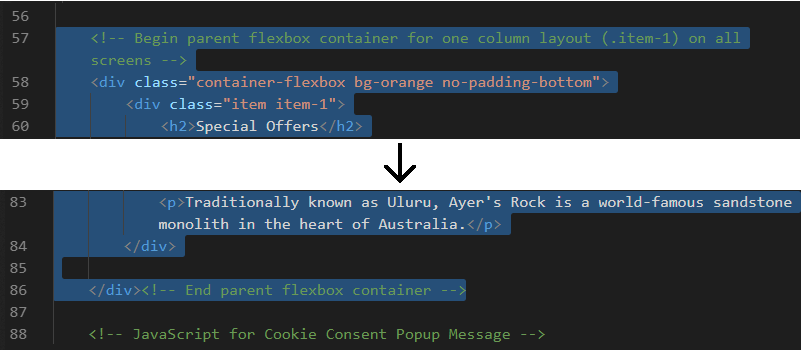
After the end of this first container-flexbox DIV, you can delete the rest of the HTML and text on this page.
Remove everything all the way down to the <!-- JavaScript for Cookie Consent Popup Message --> message.
When finished, save your contact-us.html web page.
Edit the hero image of your Contact Form web page
To update the hero image on your new contact-us.html web page, you need to:
Create a new CSS class for the new hero image.
Assign the new hero image file as the value for the background-image property of this new class.
Follow these steps.
In Visual Studio Code, edit the second classname at the top of the hero image section of the contact-us.html web page as follows.
<divclass="container-hero-block contact-us-page">
The first class of container-hero-block controls all the properties so the hero section - except the actual background image. The image file used as the background will be set by your new class named contact-us-page.
You can now save and close the contact-us.html web page.
In Visual Studio, open the style.css file for this project. It is located in your websites/portfolio/travel/assets/css sub-folder.
Near the top of the CSS file you can see the three classes that set the background-image files for the three web pages in your first version of this project.
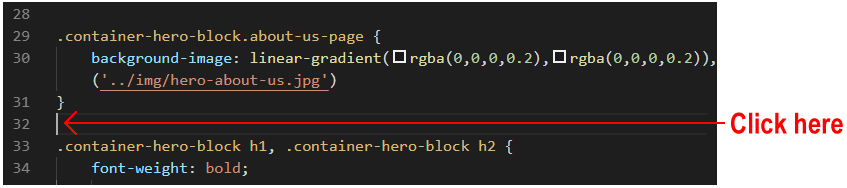
After the third class named .container-hero-block.about-us-page, press the ENTER key a few times to open up some new lines of blank space.
Copy-and-paste the new class below to set the hero image for your new contact-us.html web page.
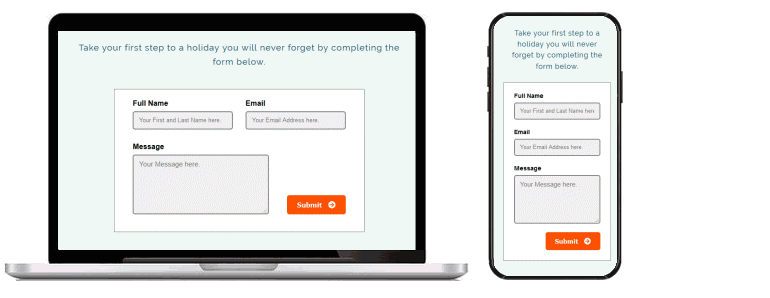
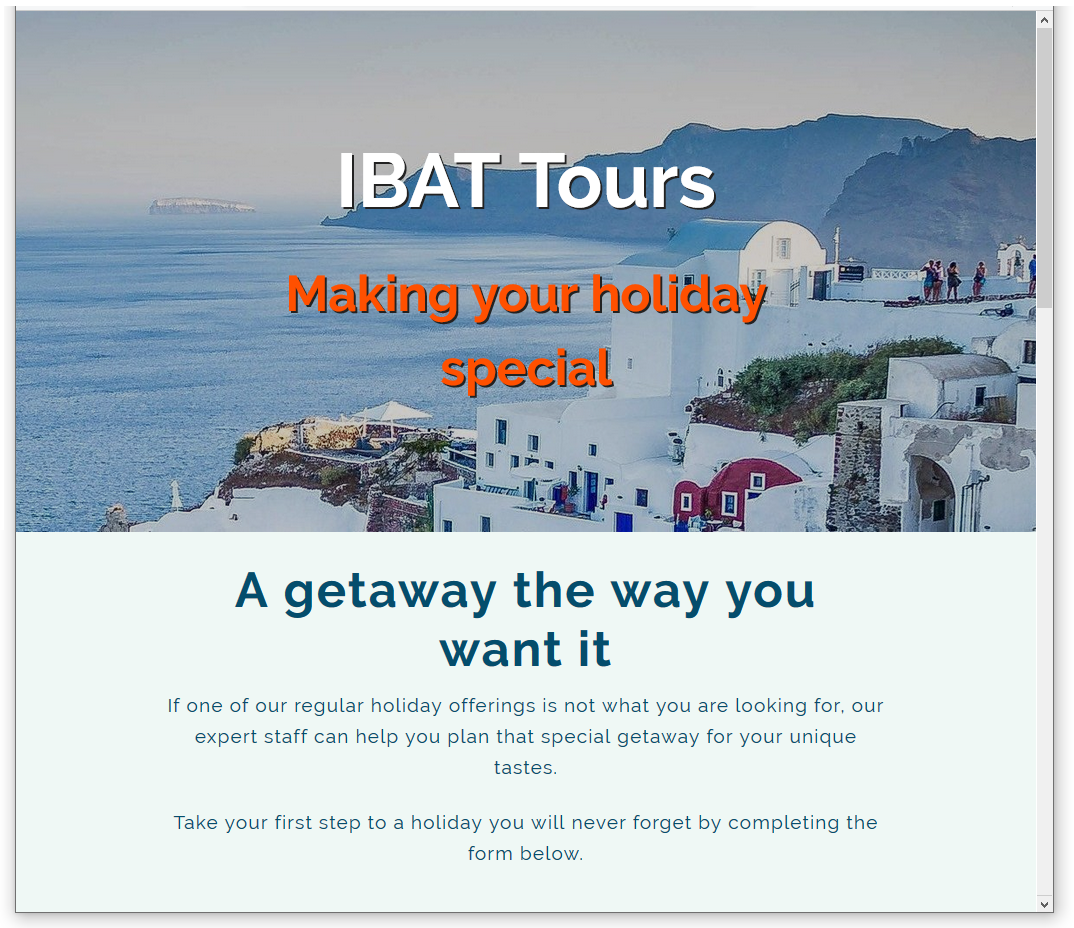
In your web browser, the contact-us.html web page should now look as shown below.
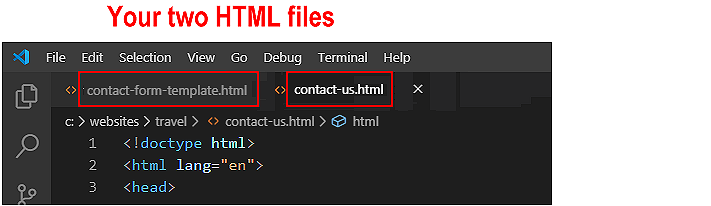
Work with the template contact form HTML file
In this next step, you will work with two HTML files:
The template file you will copy from and
The web page you will copy to.
In Visual Studio Code, from your websites\templates folder, open the following HTML file:
contact-form-template.html
From your websites\portfolio\travel folder, open the web page named contact-us.html.
If you have any other files open in Visual Studio, you may wish to close them.
This will help you to focus only on the two HTML files you will be working with.
Add the <head> link for the Font Awesome icons
Your contact form will use a Font Awesome 5 icon. So you need to copy and paste the link to the Font Awesome stylesheet CSS file from the <head> section of the contact form template file to the <head> section your contact-us.html web page.
In the contact-form-template.html file, select the Font Awesome link from the <head> section and copy it.
In your contact-us.html web page, paste the copied Font Awesome link in the <head> section, just after the link to Google Fonts as shown below.
When finished, save your contact-us.html web page.
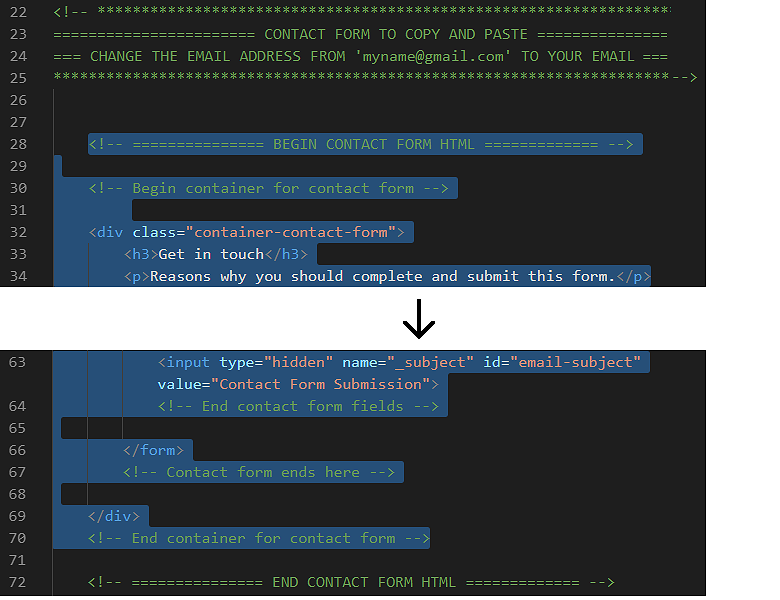
Copy-and-paste the contact form HTML
Your next step is to copy content from the contact form template file into your web page.
In the contact-form-template.html file, select and copy the form section.
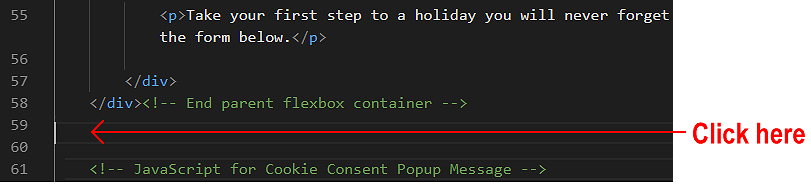
In your contact-us.html web page:
Scroll down to near the end of the web page, to just before the JavaScript for Cookie Consent Popup Message.
Press the ENTER key a few times to open up some new lines of blank space.
Paste the copied contact form content.
When finished, save your contact-us.html web page.
You can now close the contact-form-template.html file. You are finished working with it.
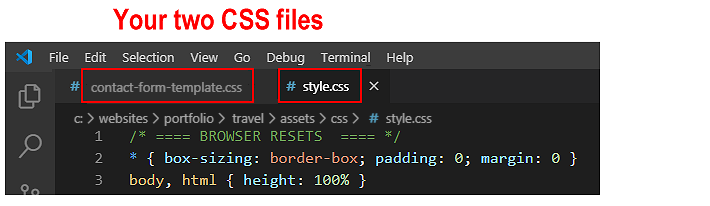
Work with the template contact form CSS file
In your next step you will work with two CSS files:
The template CSS file you will copy from and
The stylesheet you will copy to.
In Visual Studio Code, from your websites\templates folder, open the following CSS file:
contact-form-template.css
From your websites\portfolio\travel\assets\css folder, open your stylesheet named style.css.
If you have any other files open in Visual Studio, you may wish to close them.
This will help you to focus only on the two CSS files you will be working with.
Copy-and-paste the contact form CSS
In this step you will copy from the contact form template CSS file into your style.css file.
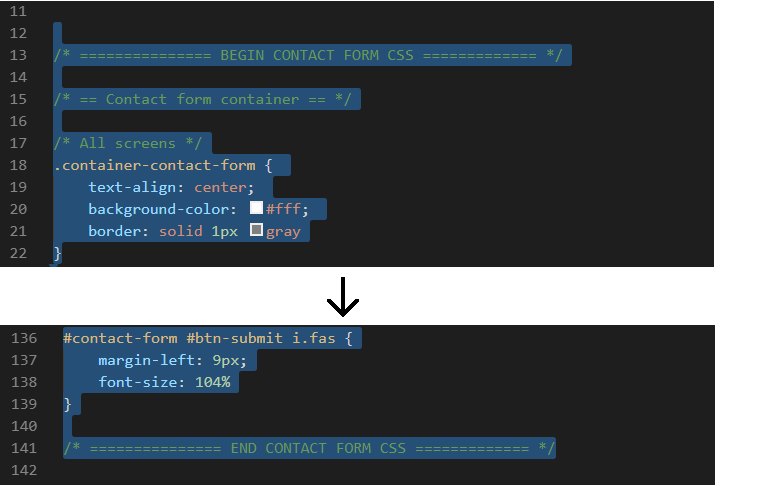
In your contact-form-template.css file, select and copy the contact form section.
In your style.css file:
Scroll down to the end of the stylesheet and click on the last empty line.
Press the ENTER key a few times to open up some new lines of blank space.
On the new last line, paste the copied contact form styles.
When finished, save your style.css stylesheet.
You can now close the contact-form-template.css file. You are finished working with it.
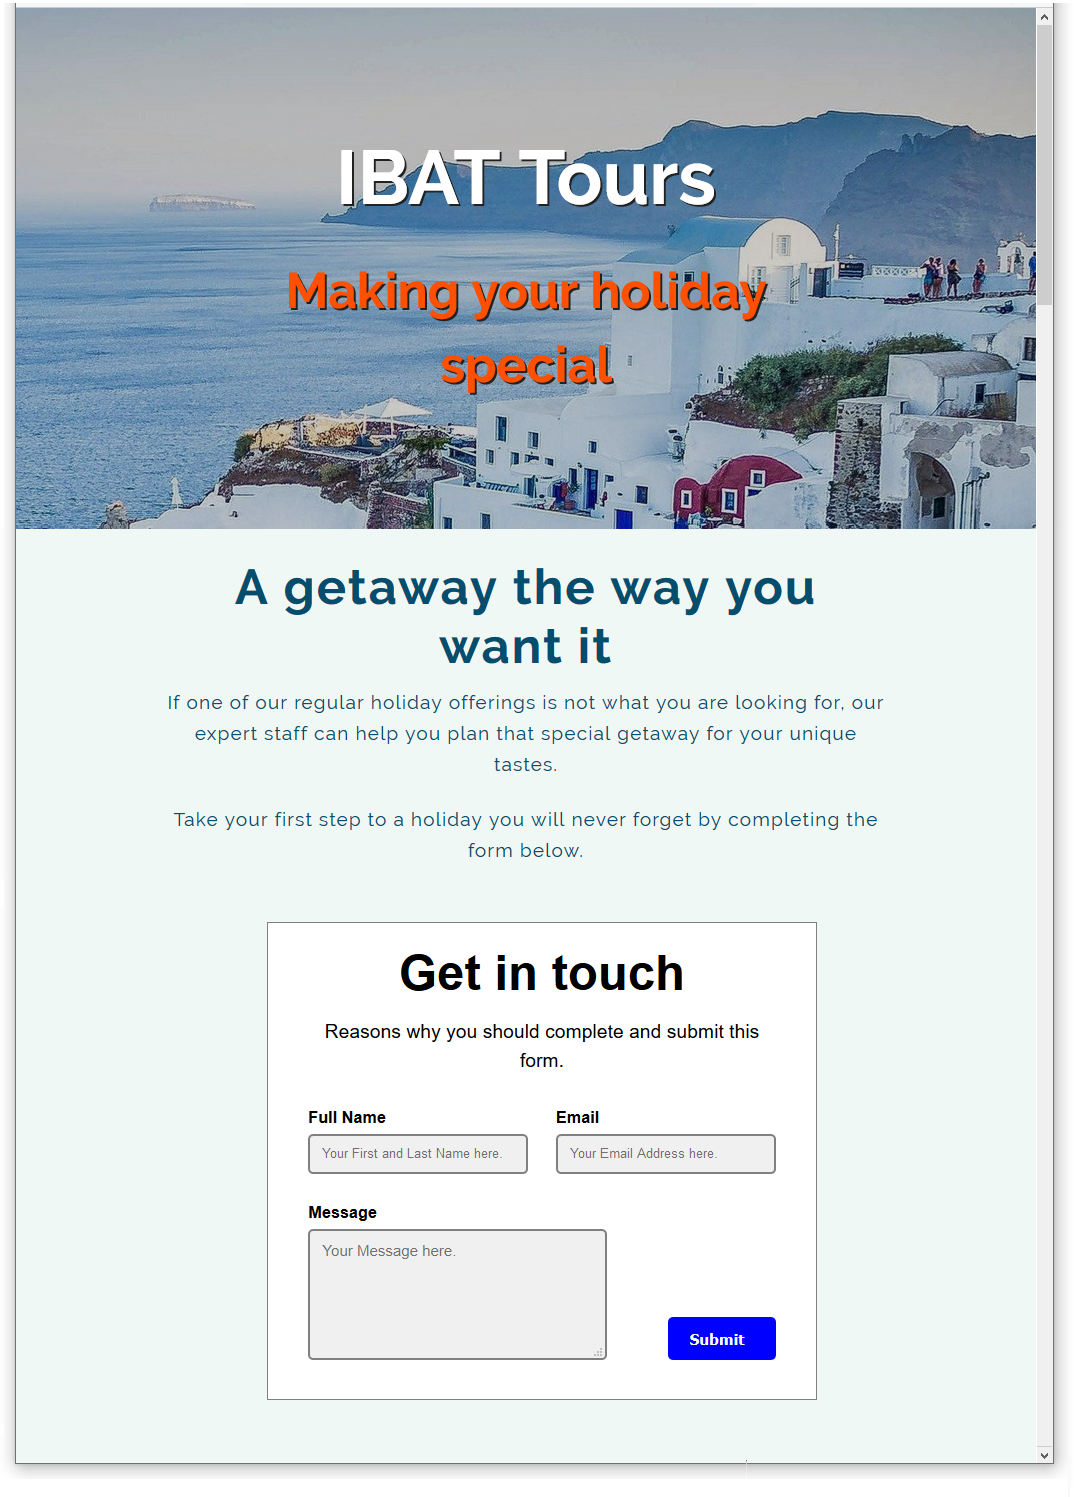
In your web browser, the contact-us.html web page should now look as shown below.
Update your Contact Form web page and stylesheet
Here are the final steps to updating the Contact Form web page.
In Visual Studio Code, open your contact-us.html web page and style.css stylesheet.
In the contact-us.html file, delete the <h3> sub-heading and <p> paragraph text above the contact form.
Ensure that you have changed the email address in the contact form from myname@gmail.com to your own email address.
You can now save and close the contact-us.html web page.
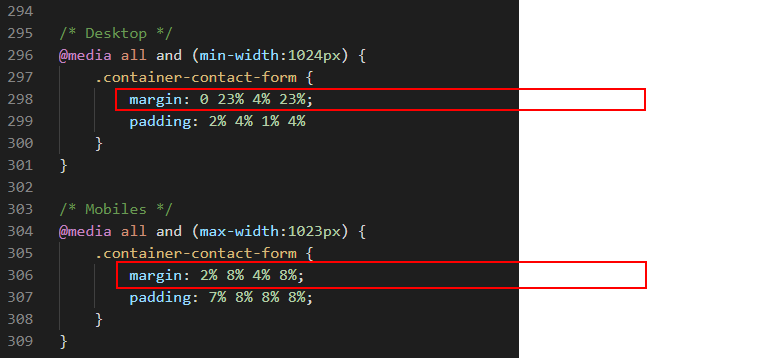
In your style.css file, reduce the top margin spacing for the .container-contact-form style as shown below.
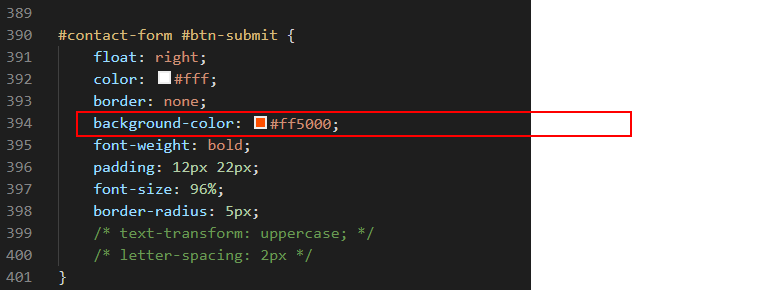
Change the background-color value for the 'Submit' button as shown below.
Save your style.css file.
That's it. You are now finished working with your Contact Form page.
You can display a finished version of the contact form web page on GitHub by clicking the image below.
Validate your HTML file
To check your HTML is correct, use the official W3C Markup Validation Service. Follow these steps.
Copy and paste your contact-us.html file into the box named Enter the Markup to validate.
Click the Check button.
If you see any errors, return to your HTML file, fix the errors, save the file, and copy the entire file again.
In the HTML Validator, click the Back button of your web browser to again display the Validate by Direct Input tab. Click once in the tab and paste in your corrected HTML file. Your new, pasted-in file will replace the earlier version. Finally, click the Check button.
Validate your CSS file
To check your CSS is correct, use the official W3C CSS Validation Service. Follow these steps.
Copy and paste your style.css CSS file into the box named Enter the CSS you would like validated.
Click the Check button.
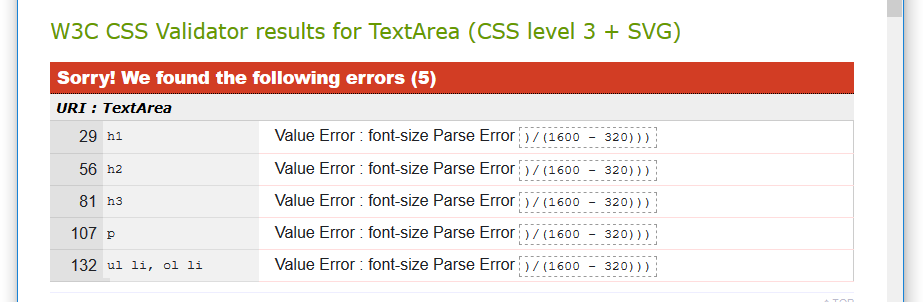
If you see any errors (other than those related to the fluid typographic equation, as shown below), return to your style.css file in Visual Studio, fix the errors, save the file, and copy the entire file again.
In the CSS Validator, click the Back button of your web browser to again display the By direct input tab. Click once in the tab and paste in your corrected CSS file. Your new, pasted-in file will replace the earlier version. Finally, click the Check button.
Upload your project to GitHub
The final step is to upload your project to GitHub.
All the files for this project are in a sub-folder named travel of your websites/portfolio folder.
So you will need to upload this travel sub-folder, which contains both files and other sub-folders, to your account on GitHub.
Open a new tab in your web browser and go to GitHub.com. If you are not already signed in to your GitHub account, sign in now.
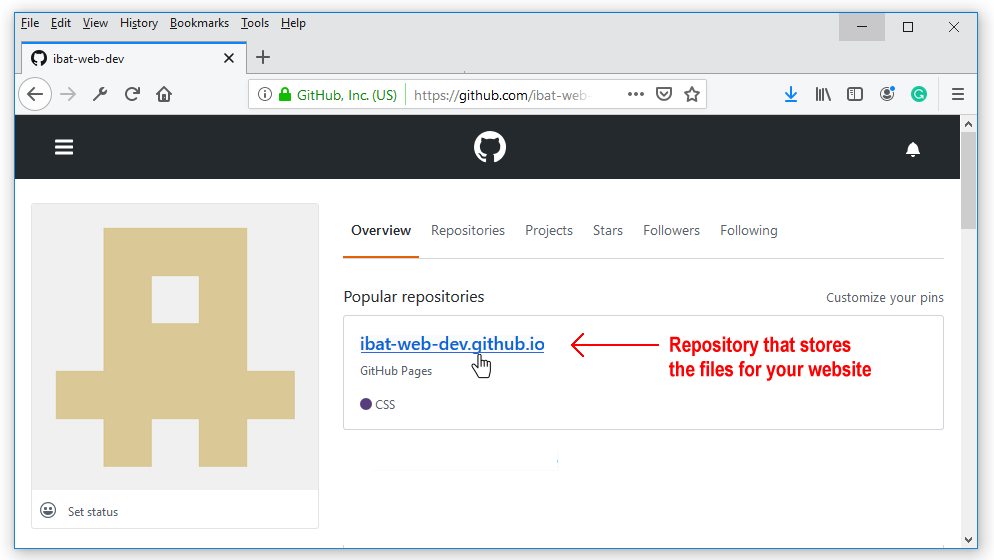
On your GitHub home page, click the name of the repository ('repo') that holds your web pages. Its name will look as follows, where username is your chosen username on GitHub.
username.github.io
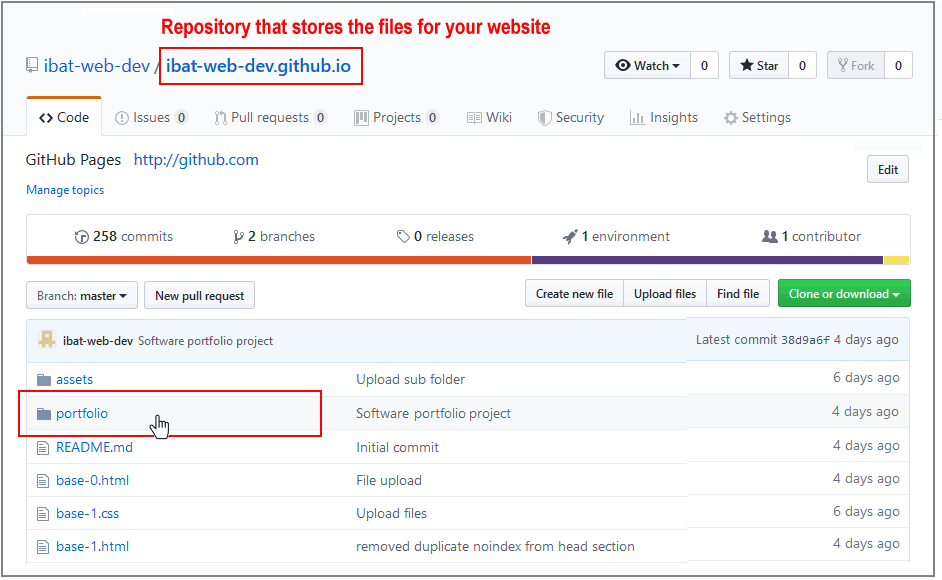
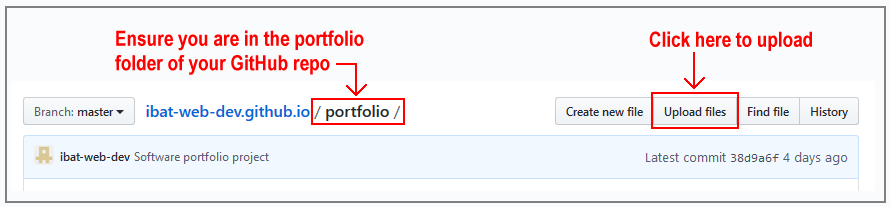
The next GitHub screen displayed should look as follows. Click on the portfolio folder.
On the next screen displayed, click the Upload files button.
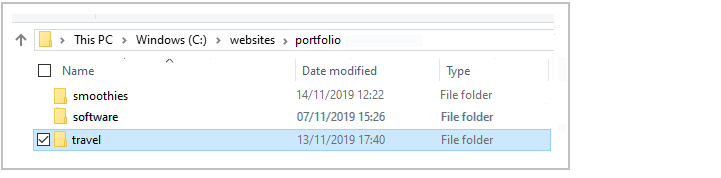
In File/Windows Explorer on your computer, display your portfolio folder and then drag-and-drop the travel folder to the GitHub tab in your web browser.
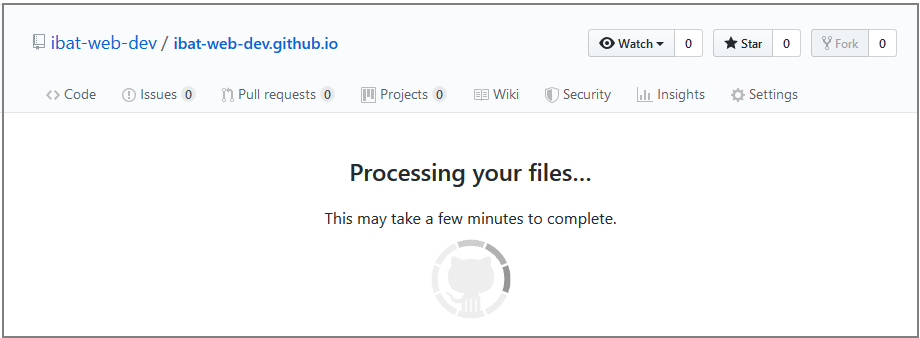
After uploading the travel folder, scroll down to the bottom of the GitHub screen, enter a short message in the Commit changes box, click the Commit changes button, and wait for the upload to complete.
Your Contact Form web page for your 'Travel Agency' project is now published on GitHub at a web address similar to the following, where username is the username you have chosen for your GitHub account: