Introduction
In this task you will use template content to add a Contact Form page to the ‘Travel Agency’ website project you created earlier.
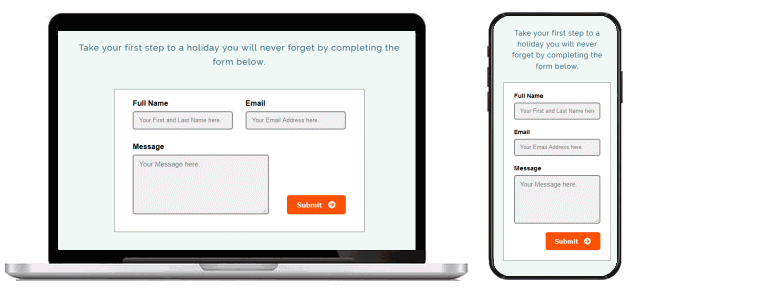
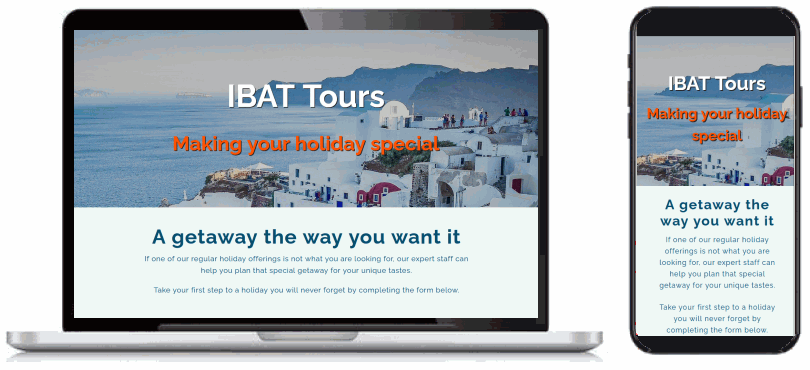
You can display a finished version of the Contact Form web page by clicking the image below.
In this task you will use template content to add a Contact Form page to the ‘Travel Agency’ website project you created earlier.
You can display a finished version of the Contact Form web page by clicking the image below.
At the end of this Tutorial you will be able to:
Downloading the new hero image
Creating your Contact Form web page
Editing your Contact Form web page
Editing your Contact Form hero image
Working with the template HTML file
Adding the <head> link for the Font Awesome icons
Copying-and-pasting the Contact Form HTML
Working with the template CSS file
Copying-and-pasting the Contact Form CSS
Updating your form content and appearance
Editing the text of your Contact Form
If you have not already downloaded the HTML, CSS and image template files for use with this and your other projects, you can find the instructions at the link below.
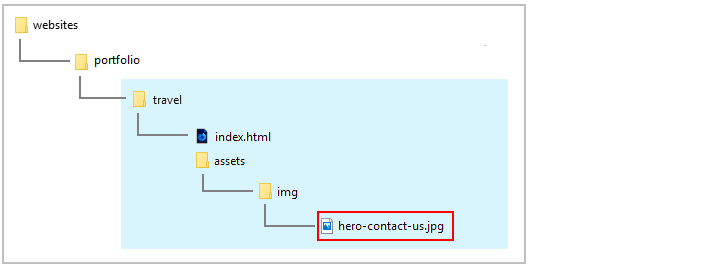
Your first step is to download the image file for the new 'Contact Form' web page you will create.

Your new Contact Form web page will be similar in design to the already existing three pages in your sample ̰Travel Agency̱ website and will use the same stylesheet.
So you can use the current home page index.html file as the basis for creating the new page.
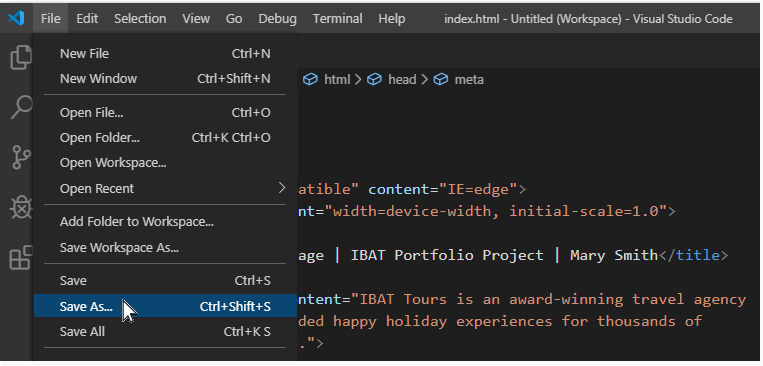
Start Visual Studio Code and follow these steps.

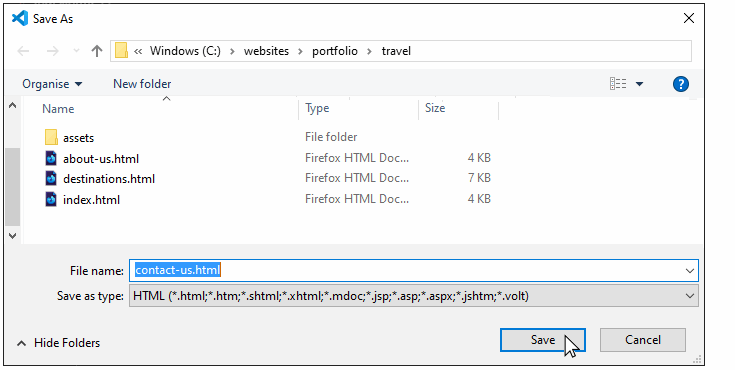
You are now ready to edit your new contact-us.html web page.
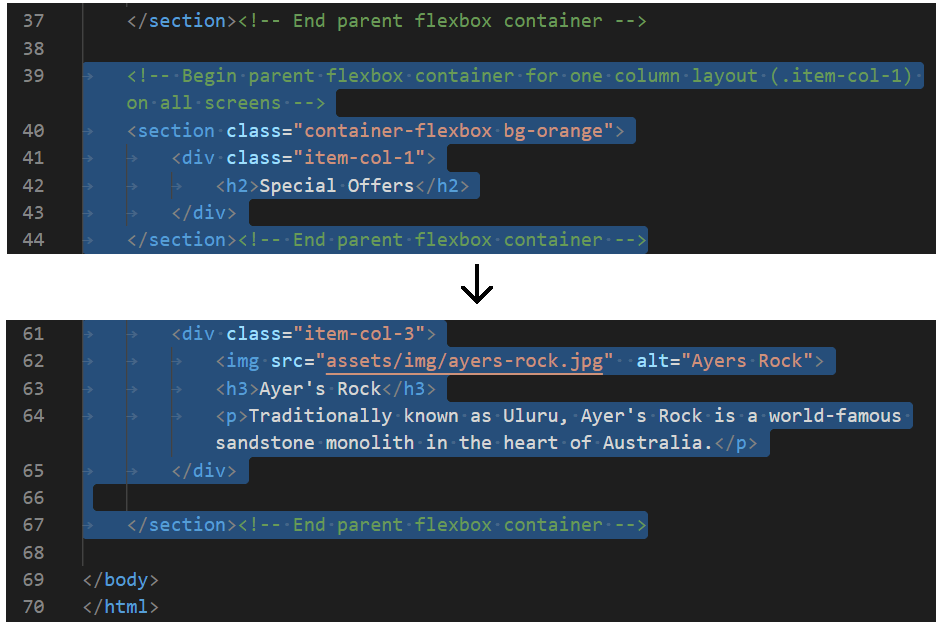
You need to update the content of your new contact-us.html web page.
<h2>Making your holiday special</h2>
<h2>A getaway the way you want it</h2>
<p>If one of our regular holiday offerings is not what you are looking for, our expert staff can help you plan that special getaway for your unique tastes.</p>
<p>Take your first step to a holiday you will never forget by completing the form below.</p>
To update the hero image on your new contact-us.html web page, you need to:
Follow these steps.
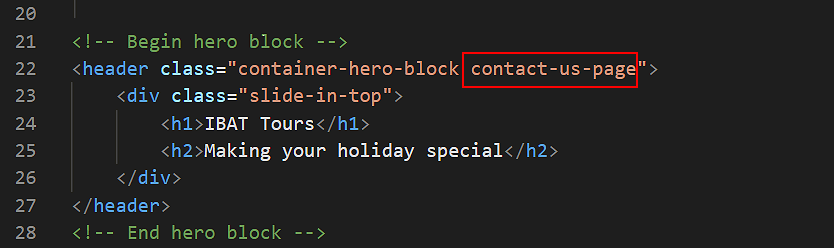 The first class of container-hero-block controls all the properties so the hero section – except the actual background image. The image file used as the background will be set by your new class named contact-us-page.
You can now save and close the contact-us.html web page.
The first class of container-hero-block controls all the properties so the hero section – except the actual background image. The image file used as the background will be set by your new class named contact-us-page.
You can now save and close the contact-us.html web page.
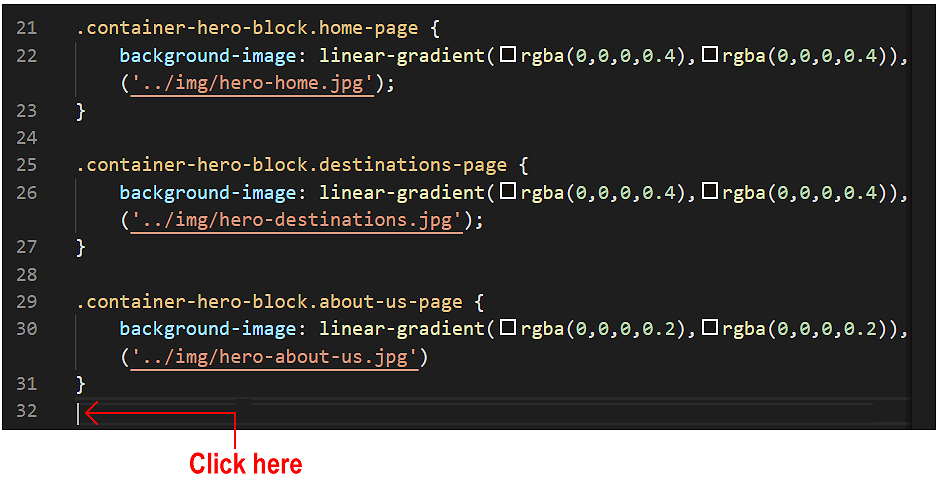
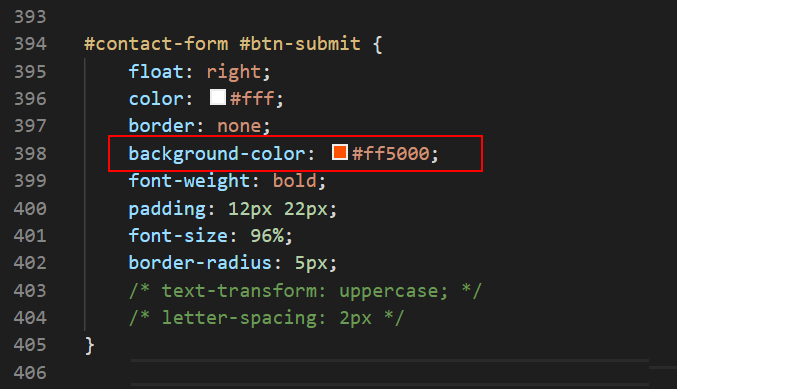
.container-hero-block.contact-us-page {
    background-image: linear-gradient(rgba(0,0,0,0.2),rgba(0,0,0,0.2)), url("../img/hero-contact-us.jpg")
}
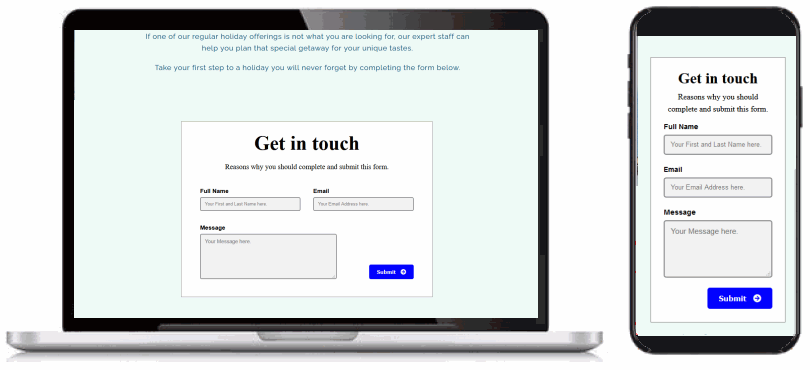
In your web browser, the contact-us.html web page should now look as shown below.
In this next step, you will work with two HTML files:
If you have any other files open in Visual Studio, you may wish to close them.
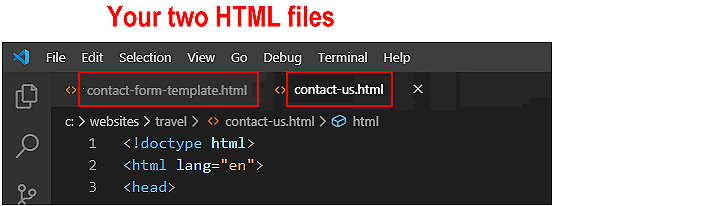
This will help you to focus only on the two HTML files you will be working with.
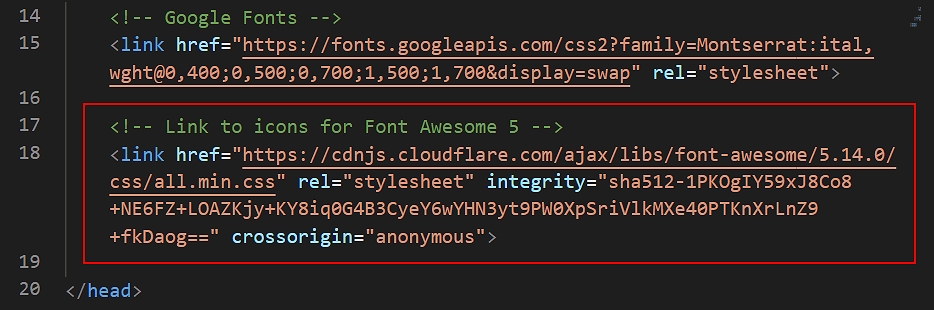
Your contact form will use a Font Awesome 5 icon. So you need to include a link to the Font Awesome stylesheet CSS file.
<!-- Link to icons for Font Awesome 5 -->
<link href="https://cdnjs.cloudflare.com/ajax/libs/font-awesome/5.14.0/css/all.min.css" rel="stylesheet" integrity="sha512-1PKOgIY59xJ8Co8+NE6FZ+LOAZKjy+KY8iq0G4B3CyeY6wYHN3yt9PW0XpSriVlkMXe40PTKnXrLnZ9+fkDaog==" crossorigin="anonymous">
The pasted comment and Font Awesome link should now look as follows.
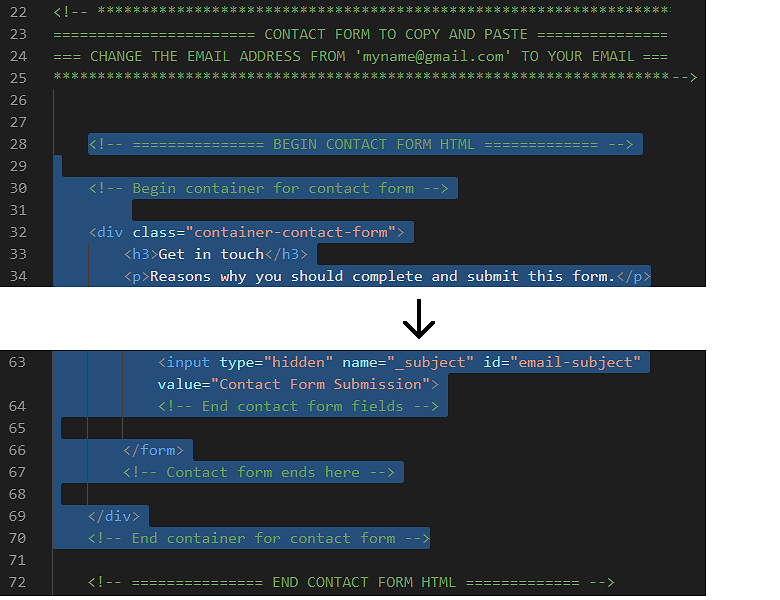
Your next step is to copy content from the template file into your web page.

You can now close the contact-form-template.html file. You are finished working with it.
In your next step you will work with two CSS files:
If you have any other files open in Visual Studio, you may wish to close them.
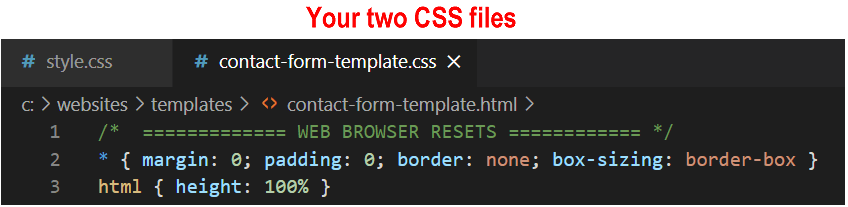
This will help you to focus only on the two CSS files you will be working with.
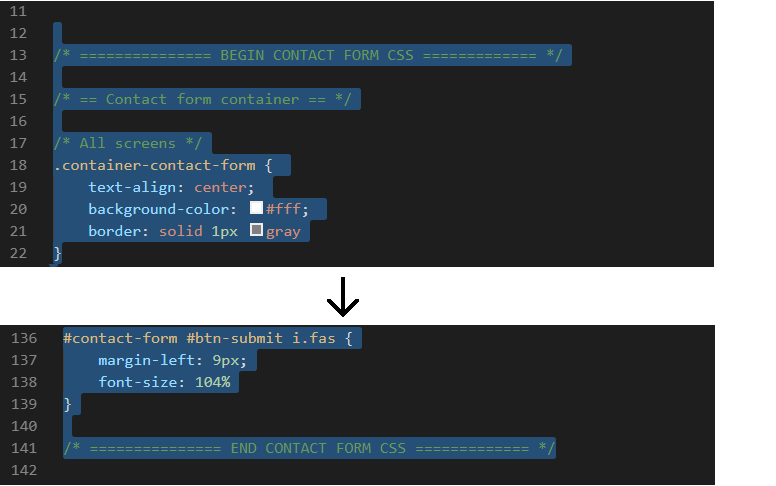
In this step you will copy from the contact form template CSS file into your style.css file.
You can now close the contact-form-template.css file. You are finished working with it.
In your web browser, the contact-us.html web page should now look as shown below.
You have now successfully added a fourth page containing a functional Contact Form to your portfolio website. All that remains is to:
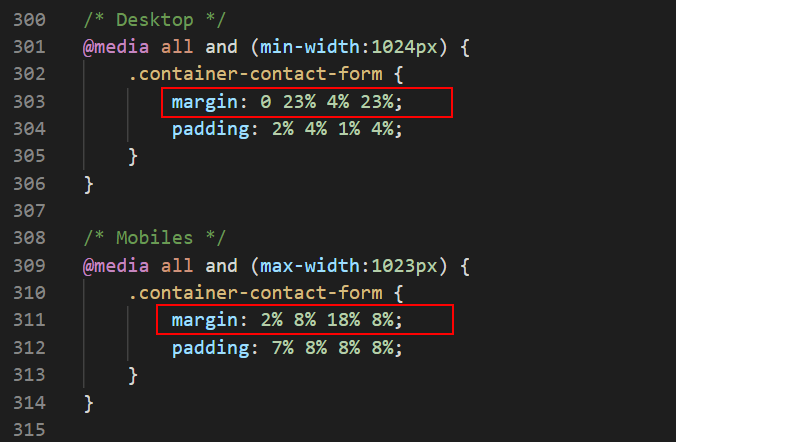
Here are the final steps to editing the text content of your Contact Form web page.

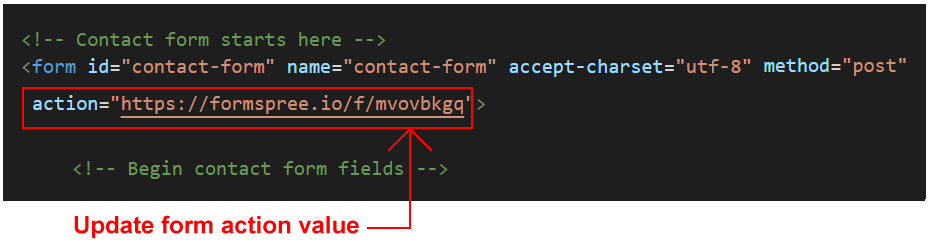
Here are the final steps to updating the Contact Form web page.
That’s it. You are now finished working with your Contact Form page.
You can display a finished version of the Contact Form web page by clicking the image below.
The final step is to upload your project to GitHub.
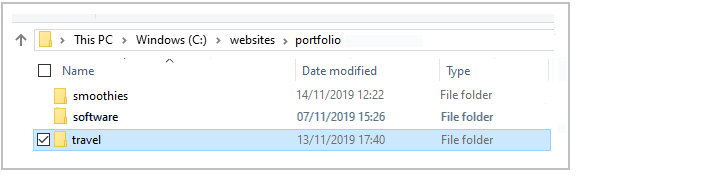
All the files you have updated for this project are in the travel sub-folder of your websites/portfolio folder.
So the easiest option is simply to upload the entire travel sub-folder to your account on GitHub.

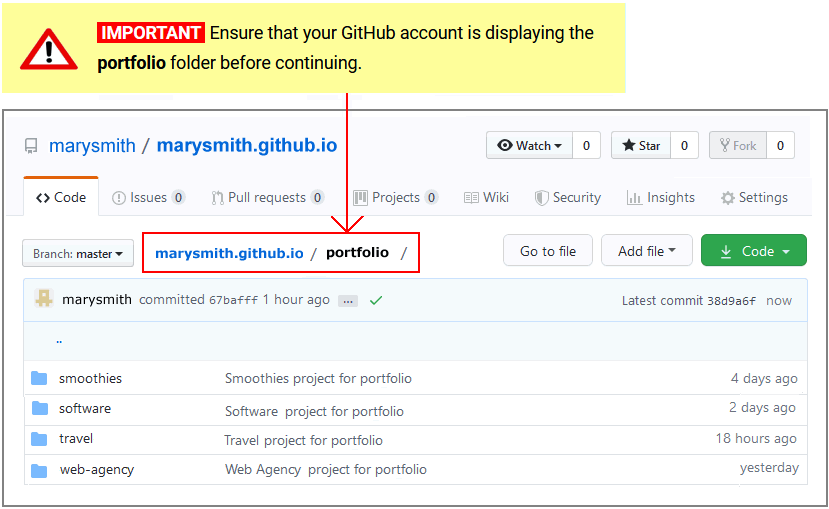

Your updated ‘Travel Agency’ project is now published on GitHub at a web address similar to the following, where username is the username you have chosen for your GitHub account:
https://username.github.io/portfolio/travel/index.html
or, simply:
https://username.github.io/portfolio/travel
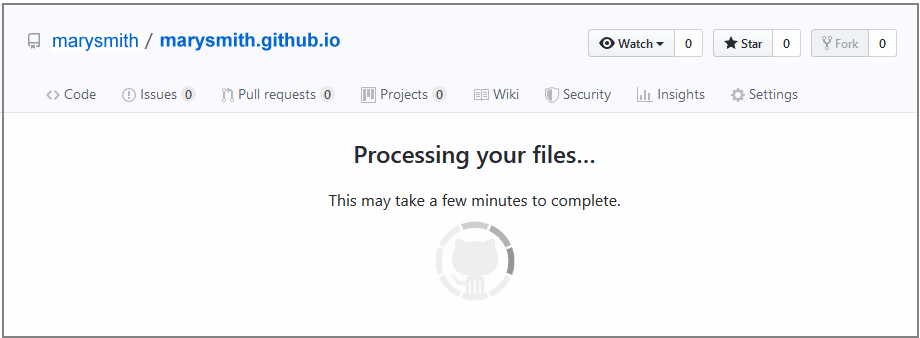
It may take a few minutes for your uploaded files to appear on GitHub.
Return to Contents.