
Learning Goals
At the end of this Tutorial you will be able to:
- Download a sample privacy page for including on your web pages.
- Use the online service from Insites to generate a privacy and cookie consent ‘pop-up’ message in JavaScript.
- Add the JavaScript code from Insites to your sample privacy web page.
You can view the sample web page you will work with in this Tutorial by clicking the image or text link below. The finished sample will open in a new tab of your web browser.
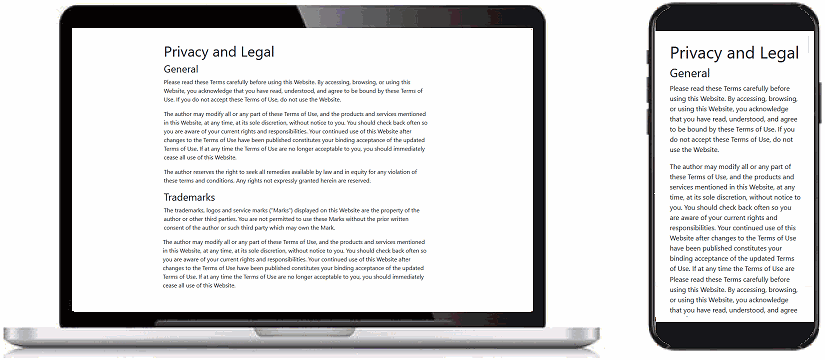 privacy.html
This sample privacy web page is suitable for including on websites that use Google Analytics.
About cookie privacy ‘pop-up’ messages
The EU General Data Protection Regulation (GDPR) requires that any website that uses cookies to notify users of this fact.
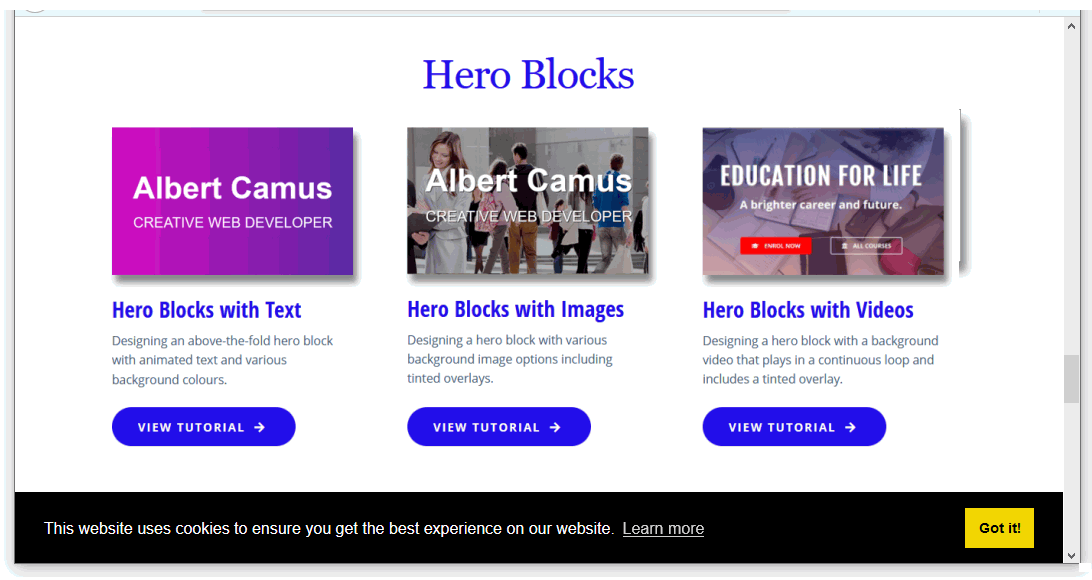
Typically, GDPR cookie compliance is achieved through cookie banners that enable website visitors to accept cookies before continuing to browse any pages on the site. See the example below.
If your website uses Google Analytics or similar user-tracking software, you will need to add such a cookie notification to your web pages.
Downloading your sample privacy web page
Your first step is to download a sample privacy web page with template content.
- Click this link to open the web page in a new tab of your web browser: privacy.html
- Right-click anywhere in the web page and choose View Page Source from the context menu displayed.
- Next, right-click anywhere on the web page source and choose Save as... (Chrome) or Save Page As... (Firefox) from the context menu displayed.
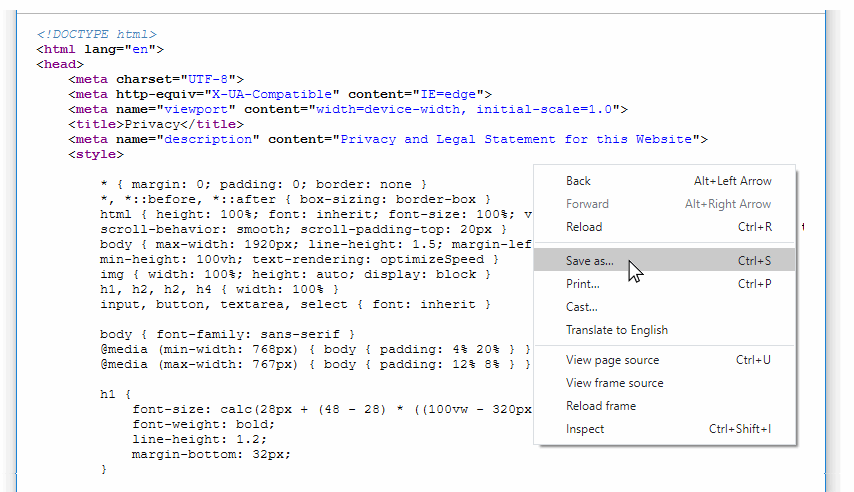
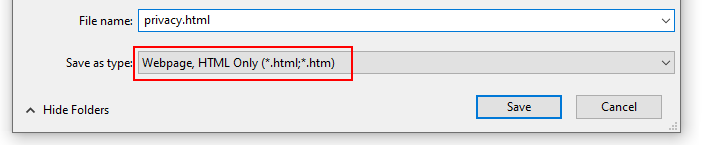
- Save the web page in the 'main' folder of your websites folder with the name privacy.html
Ensure the Save as type: dropdown list is set to Webpage, HTML only (*.HTML, *.htm).
You can close the browser tab containing the privacy.html web page.
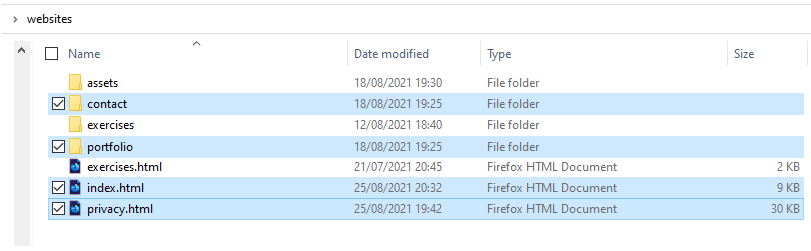
Your 'main' folder should now look as shown below.
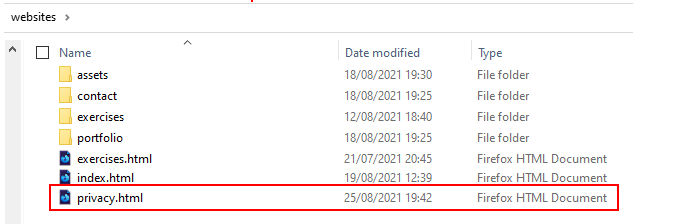
You have now saved the one file you need for this Tutorial. There are no sample stylesheets and images to download.
Generate the Privacy Pop-up Message
Your next action to generate the JavaScript code that will display the 'pop-up' messages on your web pages.
Before you do, in VS Code open the three web pages into which you will paste the JavaScript code:
index.html
📁 contact/index.html
📁 portfolio/index.html
Here are the steps for generating the JavaScript code.
- Go to the Insites web page at this web address:
https://cookieconsent.insites.com/
 Click the link named Download Open Source.
 - Clicking this button does not actually download any files to your computer. It simply brings you to another web page named 'Download Cookie Consent'. See below.
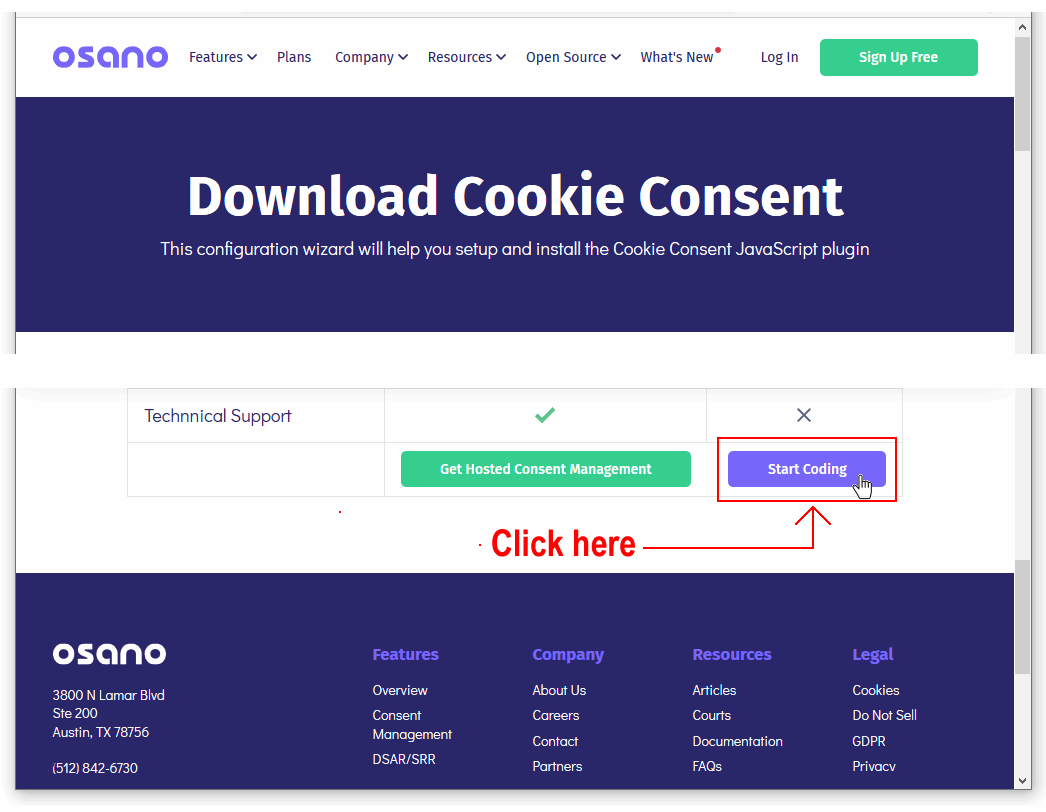 At the lower-right of this screen is a button named Start Coding. Click on it.
 - You are now ready to work through the various Configure options displayed at the left of this screen. This will generate the pop-up message in the Copy the code section at the right of the screen.
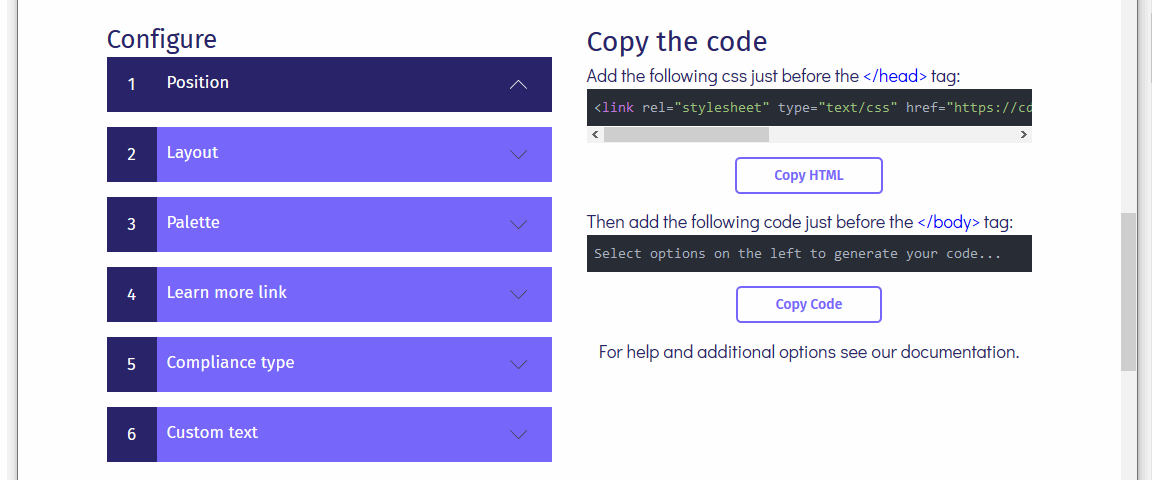
- On the left of the screen, under the 1: Position heading, you can see that the Banner bottom option is selected by default. You need not change this.

- Next, click the 2: Layout heading to view your options. Accept the default layout of Block.

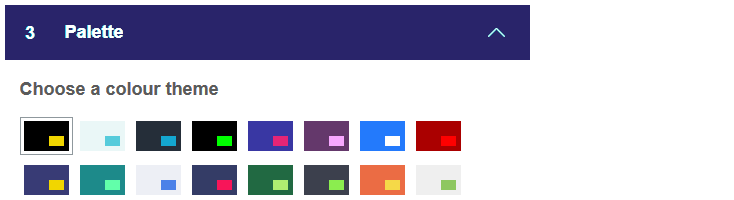
- Click the 3: Palette heading and accept the default first option. It shows a yellow button against a black background.
- Click the 4: Learn more link heading and then click the second option, named Link to your own policy. In the box displayed, enter a web address similar to the following, where username is the username you have chosen for your GitHub account:
https://username.github.io/privacy.html

- Click the 5: Compliance type heading and select the first option, Just tell users that we use cookies.

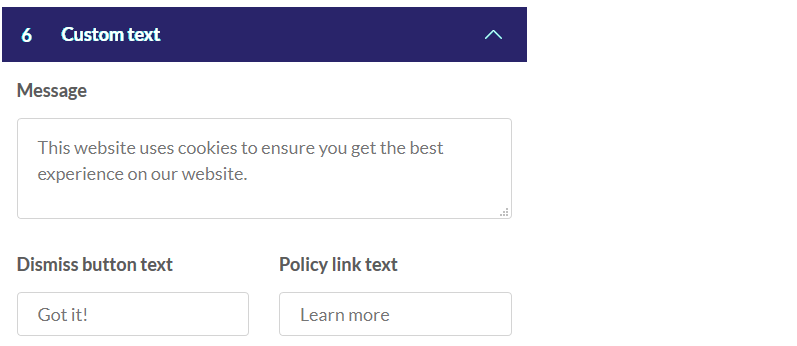
- Click the 6: Custom text heading to view the message that will be displayed to the website visitor. You need not change this.
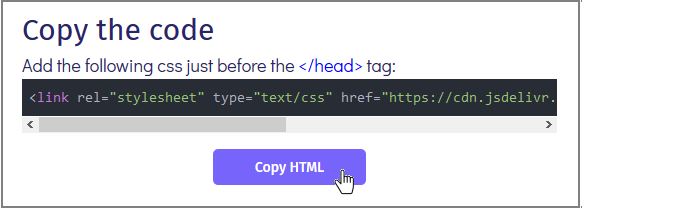
- On the right side of the screen, you can see two blocks of code that have been created for your pop-up privacy message.
- The first is the link to the CSS stylesheet file that controls the appearance of the pop-up message.
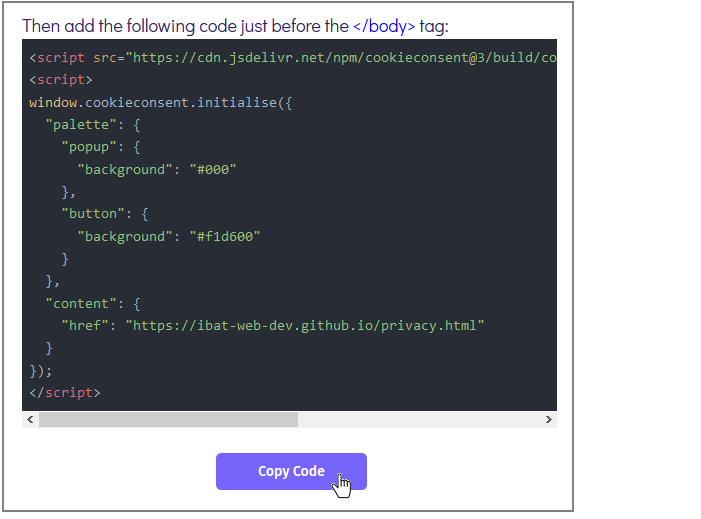
- The second is the JavaScript code that creates the pop-up message.
- The first is the link to the CSS stylesheet file that controls the appearance of the pop-up message.
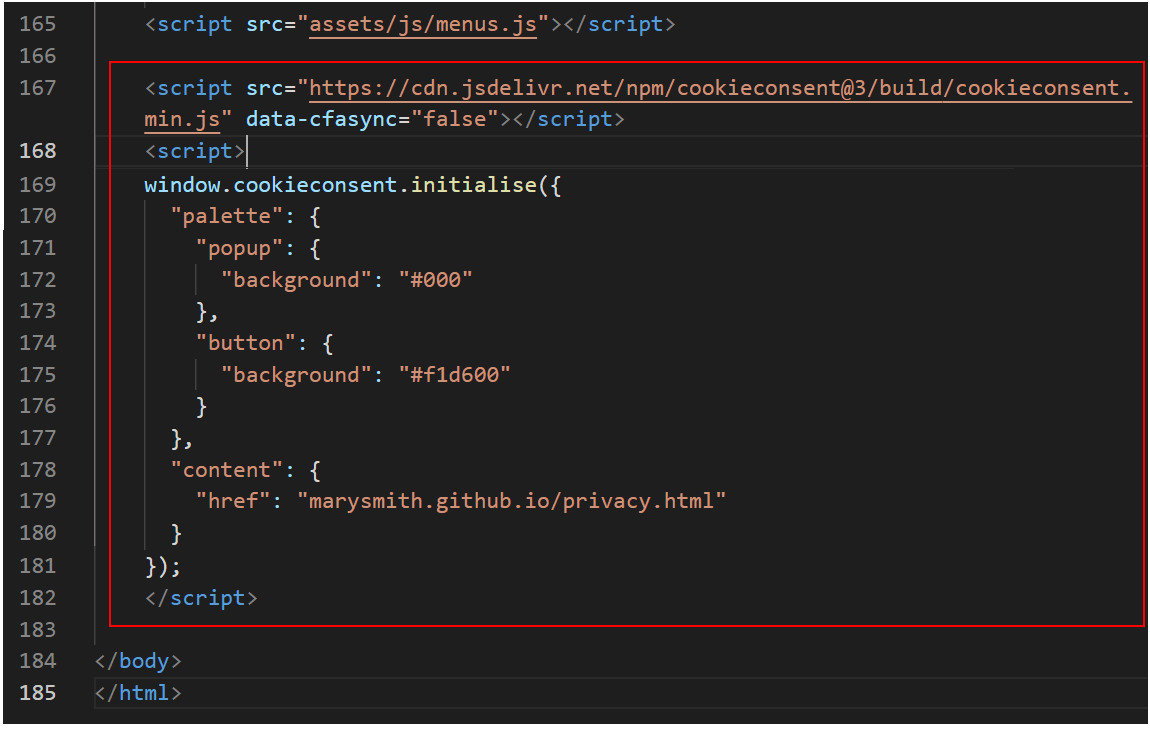
- Click the Copy HTML button, switch to VS Code, and open your 'home' index.html web page.
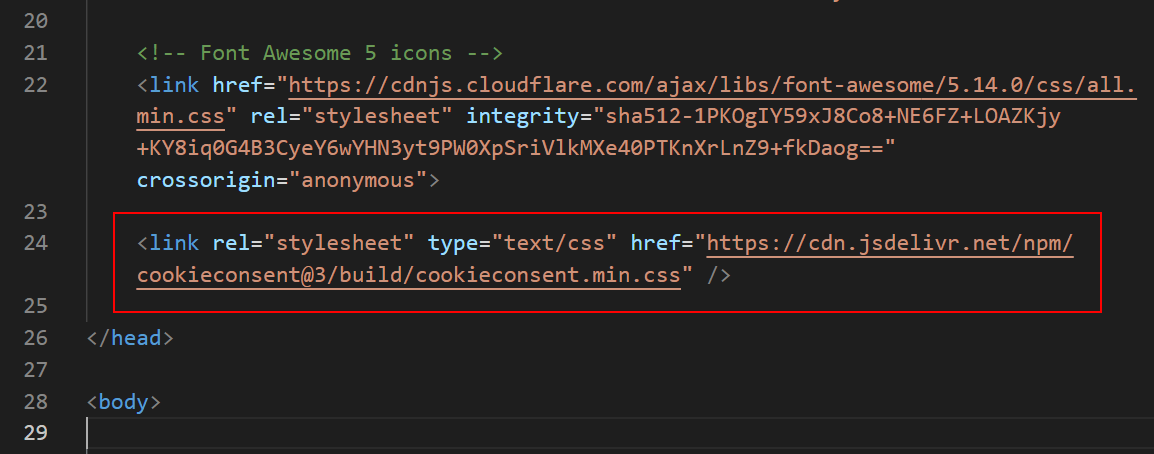
- Paste the HTML just before the closing </head> tag of your index.html file as shown below.
To make your web page easier to read, press the ENTER key to add a blank line before and after the pasted HTML.
- Repeat the copy-and-paste HTML operation for the following two other web pages:
📁 contact/index.html
📁 portfolio/index.html - Next, return to the Insites cookie code generator screen.
Click the Copy code button, switch to VS Code, and paste the text just before the closing </body> tag at the end of your 'home' index.html web page.
- Repeat the copy-and-paste JavaScript code operation for the following two other web pages:
📁 contact/index.html
📁 portfolio/index.html - Save all three of your web pages. You can close the web browser tab with the Insites website.
Uploading your files to GitHub
After finishing your updates, you are now ready to upload your files to your account on GitHub.
- Open a new tab in your web browser and go to GitHub.com. If you are not already signed in to your GitHub account, sign in now.

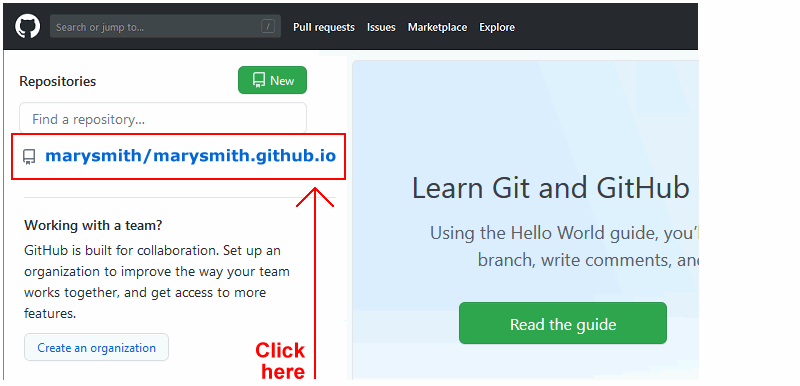
- On your GitHub home page, click the ‘repo’ that holds your web pages. Its name will look as follows, where username is your chosen username on GitHub.
username.github.io
- On the next GitHub screen displayed, near the right of the screen, you can see a button named Add file. Click on it.
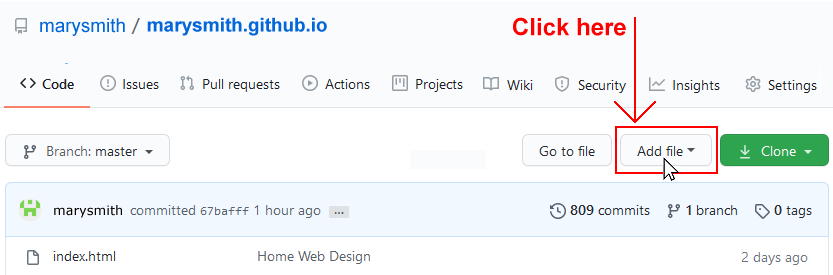
- From the dropdown list displayed, choose the option Upload files.

- In File Explorer (Windows 10) or Finder (Apple Mac), drag-and-drop your 'main' index.html file, your privacy.html file, and your 📁 portfolio and 📁 contact sub-folders, to upload them to your repository on GitHub.
- Scroll down to the bottom of the GitHub screen, and accept or edit the short message (Add files via upload) in the Commit changes box.
- Finally, click the green Commit changes button to upload your files.
Your portfolio web pages are now published on GitHub at web addresses similar to the following:
https://username.github.io/index.html
https://username.github.io/portfolio/index.html
https://username.github.io/contact/index.html
Or, simply:
https://username.github.io
https://username.github.io/portfolio
https://username.github.io/contact
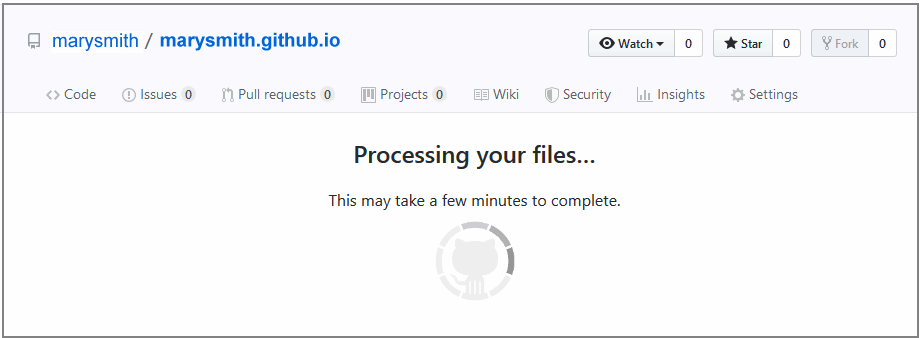
It may take a few minutes for your uploaded files to appear on GitHub.