Learning Goals
At the end of this Tutorial you will be able to:
- Add a background video with a pre-loading still image to the hero block in a web page.
You can view a finished version of the sample web page you will be working with in this Tutorial by clicking the image or text link below. The finished sample will open in a new tab of your web browser.
 hero-video.html
About hero blocks with background videos
As Internet connection speeds grow faster and faster, hero blocks and other elements on web pages are increasingly using background videos. Thee are short videos of about 10 seconds that play in a continuous loop.
See the examples below.
With Grace and Gold
The Yacht Company
MediaBoom
Dromoland Castle
Not all users enjoy fast Internet connection speeds, however. So it is good practice to include a background image that displays until the video finishes downloading.
Here ae some sources of free background videos:
Downloading the sample files
Your first task is to download the following web page and a stylesheet:
- hero-video.html: Click this link to open the web page in a new tab of your web browser.
Right-click anywhere in the web page and choose View Page Source from the context menu displayed.
Next, right-click anywhere on the web page source and choose Save as... (Chrome) or Save Page As... (Firefox) from the context menu displayed.
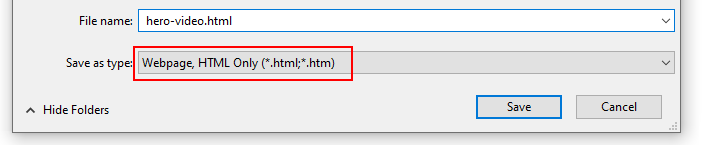
Save the web page in the bootstrap sub-folder of your websites folder with the name hero-video.html
Ensure the Save as type: dropdown list is set to Webpage, HTML only (*.HTML, *.htm).
 You can close the browser tab containing the hero-video.html web page.
Your websites/bootstrap sub-folder shown now look as shown below.
You can close the browser tab containing the hero-video.html web page.
Your websites/bootstrap sub-folder shown now look as shown below.

- hero-video.css: Click this link to open the stylesheet file in a new tab of your web browser.
Right-click anywhere in the browser window, and from the context menu, choose Save as... (Chrome) or Save Page As... (Firefox).
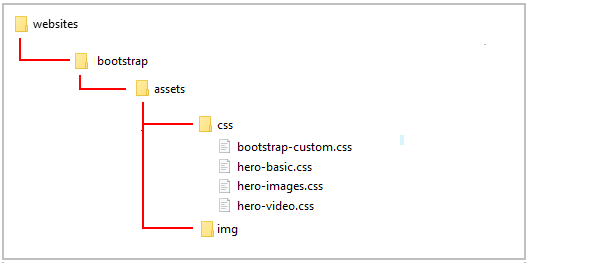
Save the hero-video.css stylesheet file to your websites/bootstrap/assets/css sub-folder.
Ensure the Save as type: dropdown list is set to the correct file type.
Your websites/bootstrap/assets/css sub-folder shown now look as shown below.
You can close the browser tab containing the hero-video.css stylesheet.
You have now saved the two files you need for this exercise.
Next, in your bootstrap/assets sub-folder, create a new sub-folder named videos.
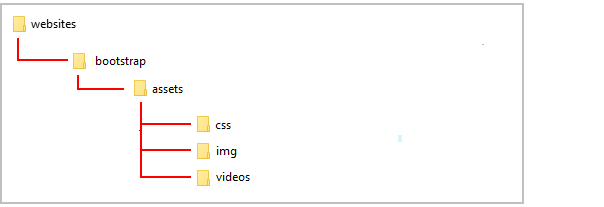
You will use this videos sub-folder to store the video you will download later in this exercise.
Downloading your sample poster image
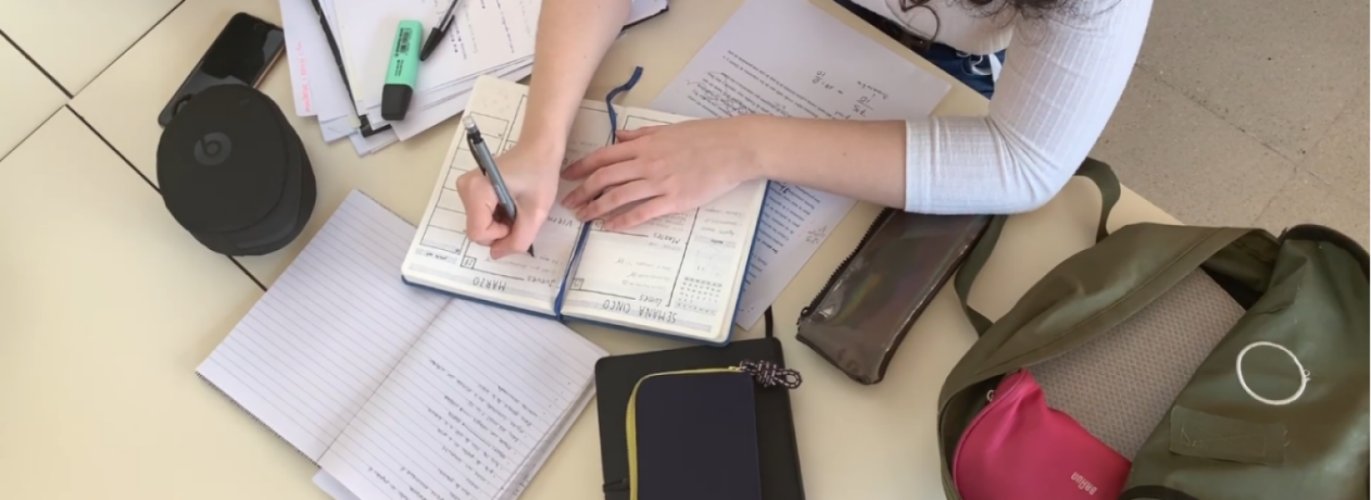
Next you will download a background image - called a poster - that will display until the video is ready to play and it has finished downloading.
Right-click on the images below, choose Save Image As from the context menu, and download them to your C:/websites/bootstrap/assets/img sub-folder.
 Link
Link
Downloading the background video
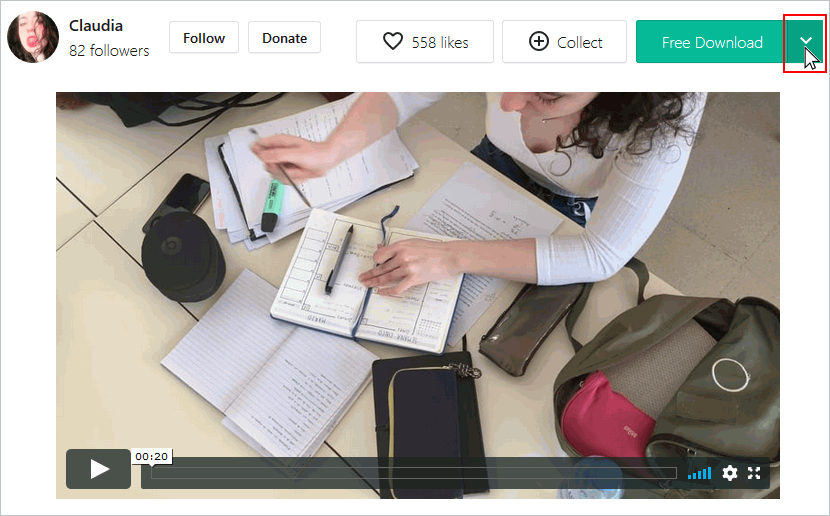
Your next step is to download a free-to-use video from the Pexels website.
- Click the link below to open a new web browser tab that offers a video for download.
Girl Writing on Her Notebook
- At the top right of the screen, click the arrow at the right of the Free Download button.
-
- For the video resolution, click the Original (1920 x 1080) option.
 And then click the Free Download button.
- Copy the downloaded video to your bootstrap/assets/videos sub-folder.
- In File/Windows Explorer, you can see the video file is named Pexels Videos 2086113.mp4.
This is the so-called full name of the file. It consists of the base file name (Pexels Videos 2086113), a full stop and the file name extension (mp4).
 If you are using Windows 10, by default you will only see the base file name of Pexels Videos 2086113.
To change this for all files in your websites folder, follow these steps:
If you are using Windows 10, by default you will only see the base file name of Pexels Videos 2086113.
To change this for all files in your websites folder, follow these steps:
- In File/Windows Explorer, display all the sub-folders and files in your websites folder.
- In the menu at the top of the screen, click the View option.
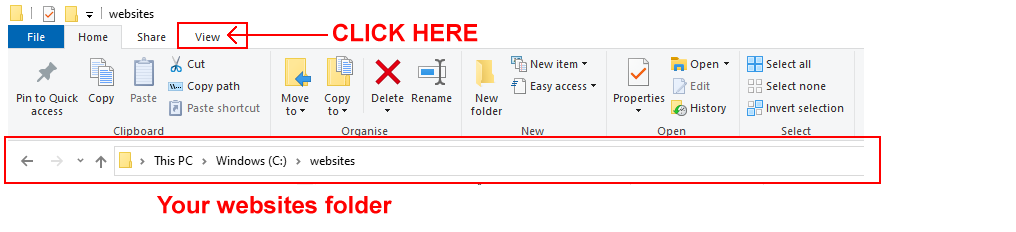
- You are now shown a new ribbon of options. Check the box named File name extensions.
 For all files in your websites folder, you will in future be shown the full file name that includes the filename extension.
- As a final step, rename the video file to hero-video.mp4.

You are now ready to work with the downloaded and renamed video.
Embedding the video in the HTML page
Follow these steps to embed the video file in your web page.
- In VS Code, display the hero-video.html file.
- Scroll down to the end.
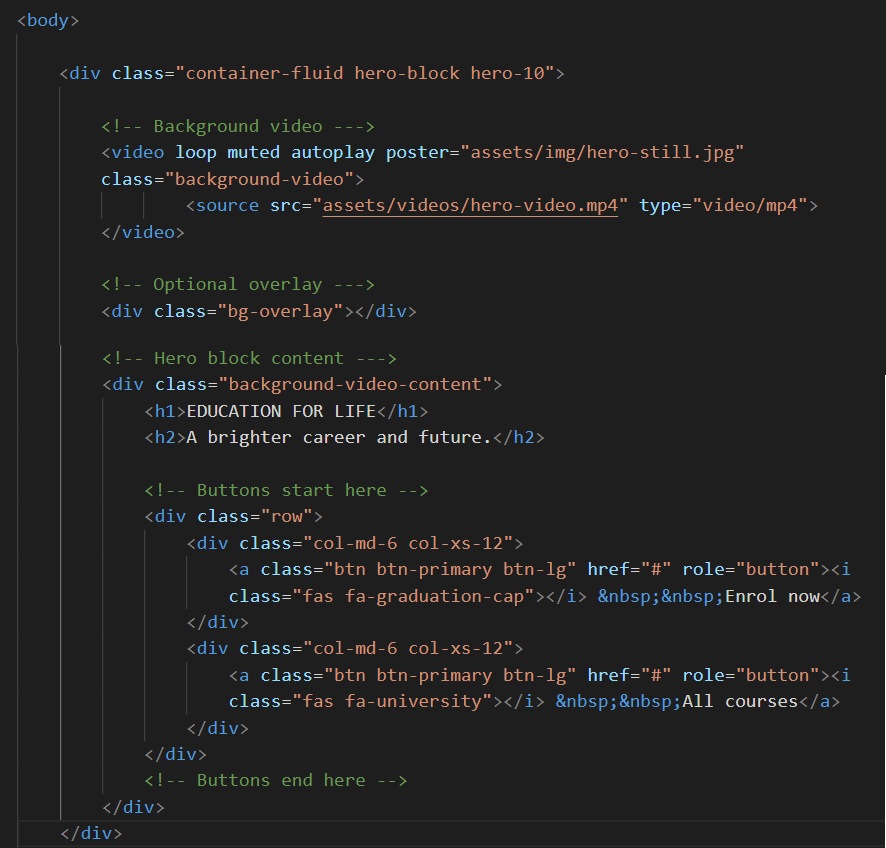
In the <div> block named hero-10, you can see three comment lines to guide you in working with the hero block content, overlay and background video.
- Under the first comment line of “Background video”, copy-and-paste the following HTML.
<video loop muted autoplay poster="assets/img/hero-still.jpg" class="background-video">
    <source src="assets/videos/hero-video.mp4" type="video/mp4">
</video>
Here you set the file name and folder location of the video you want to use as a background, along with some other properties and values.
- Under the second comment line of “Optional overlay”, copy-and-paste the following HTML.
<div class="bg-overlay"></div>
This allows you to include a tinted overlay, if required, to make the text content easier-to-read against the video background.
If you open the hero-video.html file for this project in VS Code, you can see the following values has been set for the overlay:

- The overlay colour changes from blue (RGB of 29,38,113) at the top to brown (RGB of 195,55,100) at the bottom.
- The opacity of the overlay, represented by the letter A (for Alpha channel) decreases from 0.7 at the top to 0.3 at the bottom.
- Under the third comment line of “Hero block content” is the text the text content that appears in front of the background video (and also in front of the optional overlay). It typically includes a heading, sub-heading and one or two buttons.
- When finished, save your hero-video.html file.
Your web page file should now look as shown below.
In your web browser, reload and view your hero-video.html web page on desktop/laptop and mobile screens. The background video should play continuously.
Success!. You have now completed this Tutorial.
You can see an example of the finished web page at the link below.
hero-video.html
Uploading your Bootstrap folder to GitHub
Follow these steps below to upload your entire Bootstrap folder to your website on GitHub.
- Open a new tab in your web browser and go to GitHub.com. If you are not already signed in to your GitHub account, sign in now.

- On your GitHub home page, click the name of the repository (‘repo’) that holds your web pages. Its name will look as follows, where username is your chosen username on GitHub.
username.github.io

- On the next GitHub screen displayed, click the Add file button near the right of the screen and choose Upload files from the dropdown list.

- In File/Windows Explorer, select your bootstrap folder, and drag-and-drop it to your repository on GitHub.

- Scroll down to the bottom of the GitHub screen, and accept or edit the short message (Add files via upload) in the Commit changes box.
Finally, click the green Commit changes button to upload your entire bootstrap folder and all the files it contains.
Your uploaded web page is published on GitHub at a web address similar to the following, where username is the username you have chosen for your GitHub account:
https://username.github.io/bootstrap/hero-video.html
It may take a few minutes for your uploaded files to appear on GitHub.